Table of contents
How to Download the Panasonic Comfort Cloud App and Create a Panasonic ID Account
I - Download the Panasonic Comfort Cloud App
1 – It must be a smartphone.
- Android OS version 4.4 or higher is required.
- With IOS: IOS 9.0 or later is required.
(With AP Mode Connection, which requires IOS 11 or higher).
2 – Access to the app store on your phone.
- Android: CH-Play (Google Play Store).
- App Store for iOS.
- Type in the search field on the App "Panasonic Comfort Cloud" => select search.
- Tick touch the application "Panasonic Comfort Cloud" => select Settings
(Waiting for successful download and installation)
II – Create a Panasonic ID Account
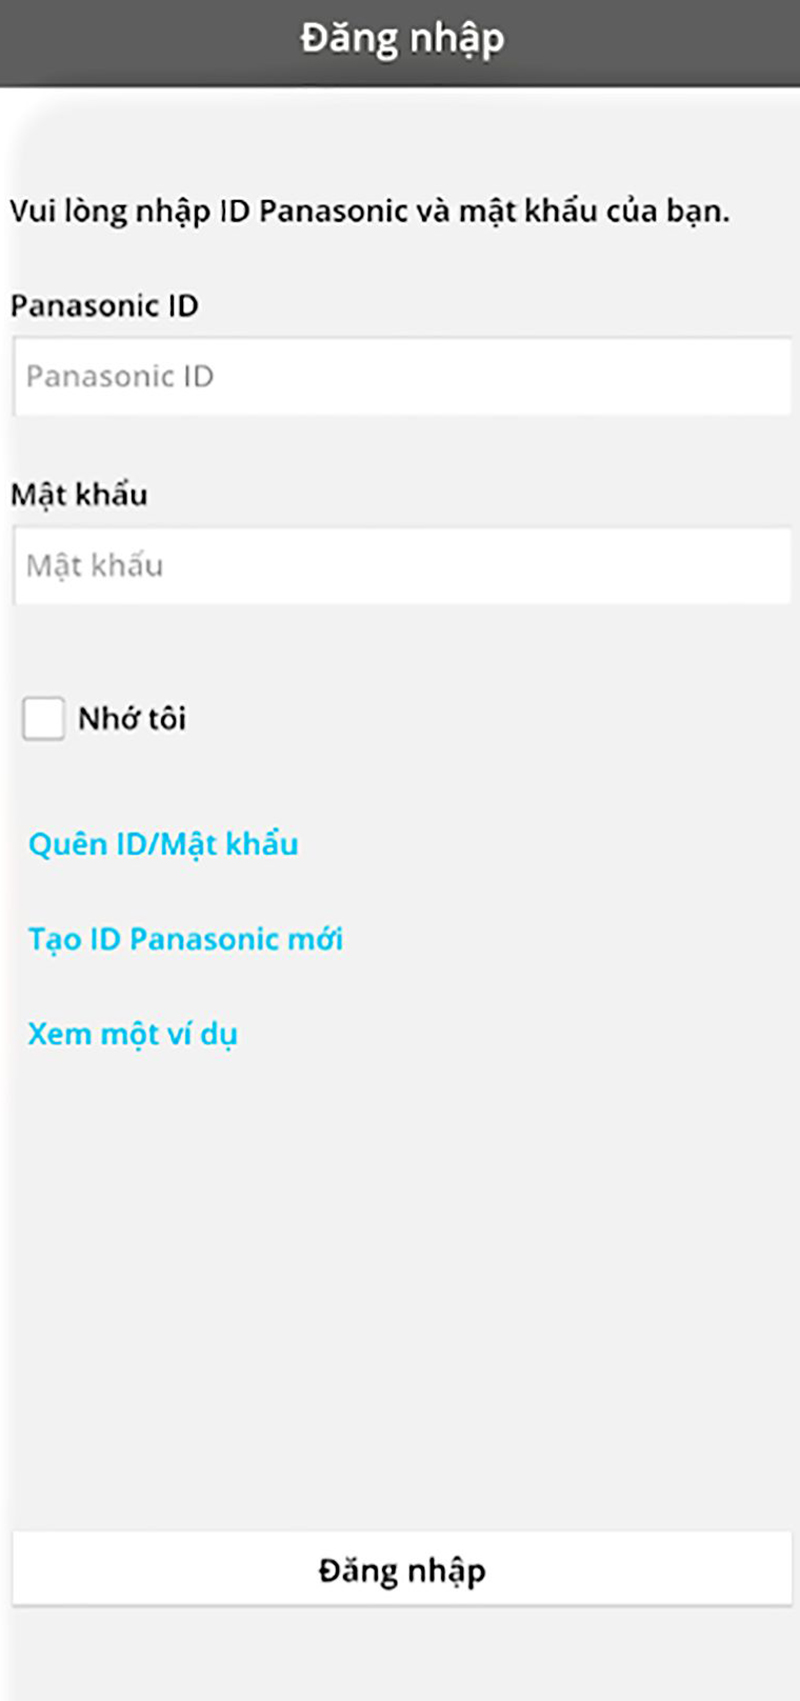
Open the application "Panasonic Comfort Cloud" installed on your smartphone.
Check the Create "New Panasonic ID" item.
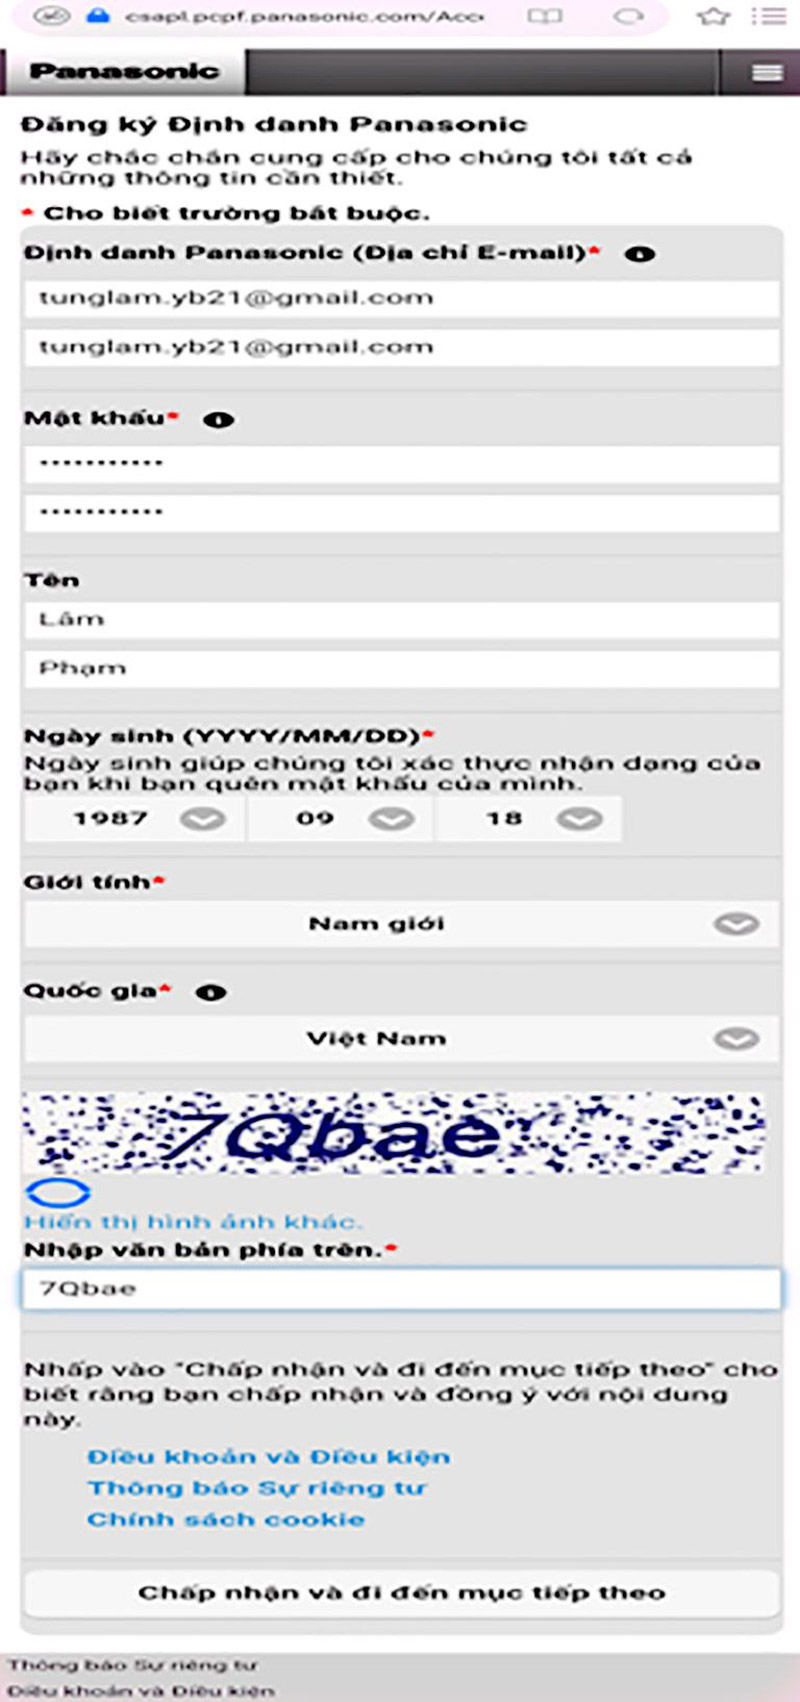
After ticking "Create a new Panasonic ID Account," you have to fill it in with the information that appears in the picture below, including:
- Enter an email address.
- Re-enter the email address.
- Make a new password for yourself: (A@a12345).
- Verify the generated password with (A@a12345). *Do not enter the old email password; the password must be eight characters or more, including uppercase letters, special characters, lowercase letters, and numbers.
- Name.
- Surname
- Choose from the following options: birth year, month, or date.
- Choose: Gender
- Select a country:
- Enter the text characters above.
- Select: Accept and go to the next item.
Next, you click to create an account.
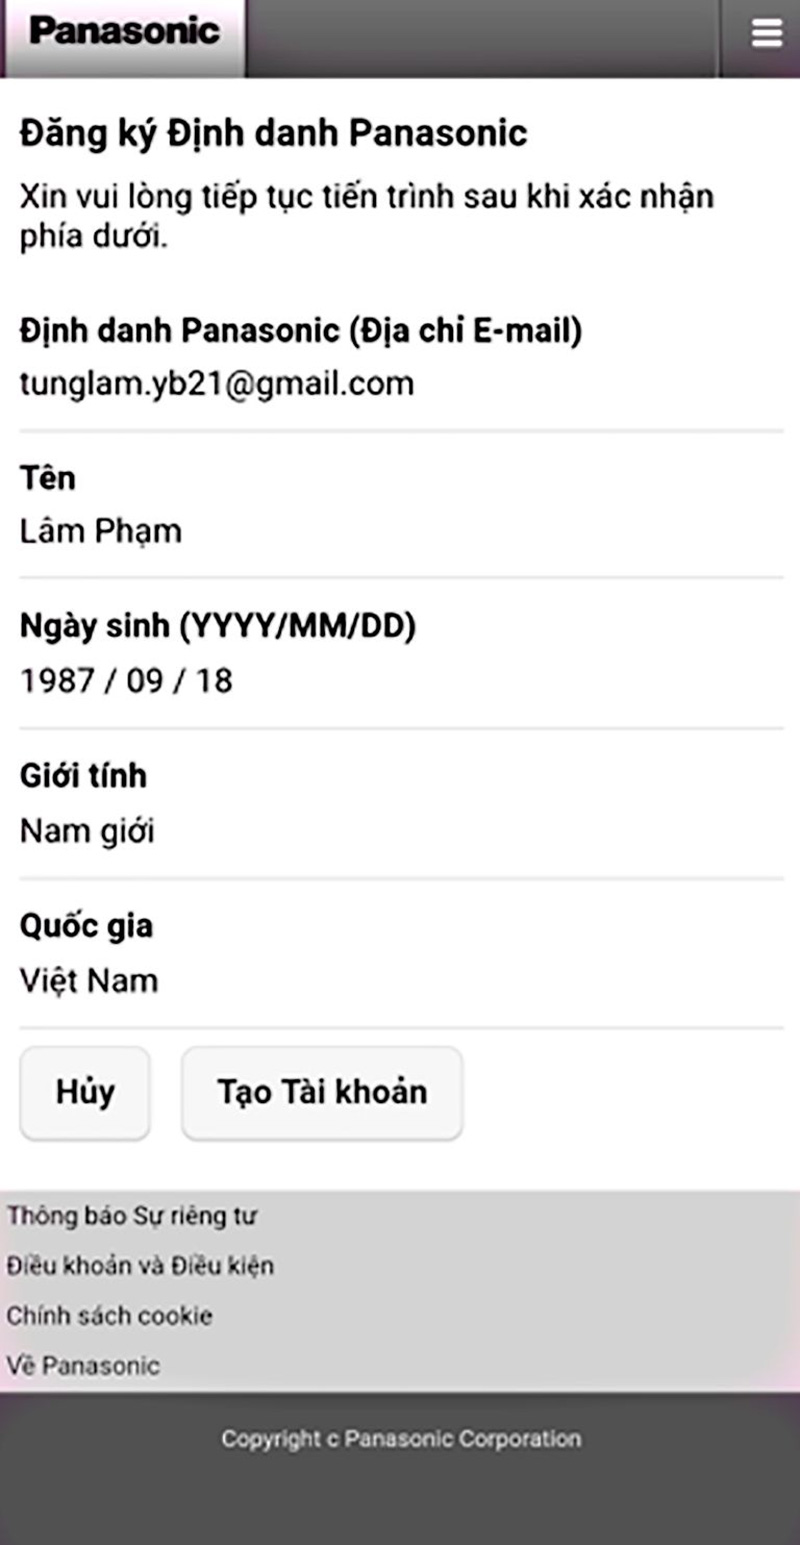
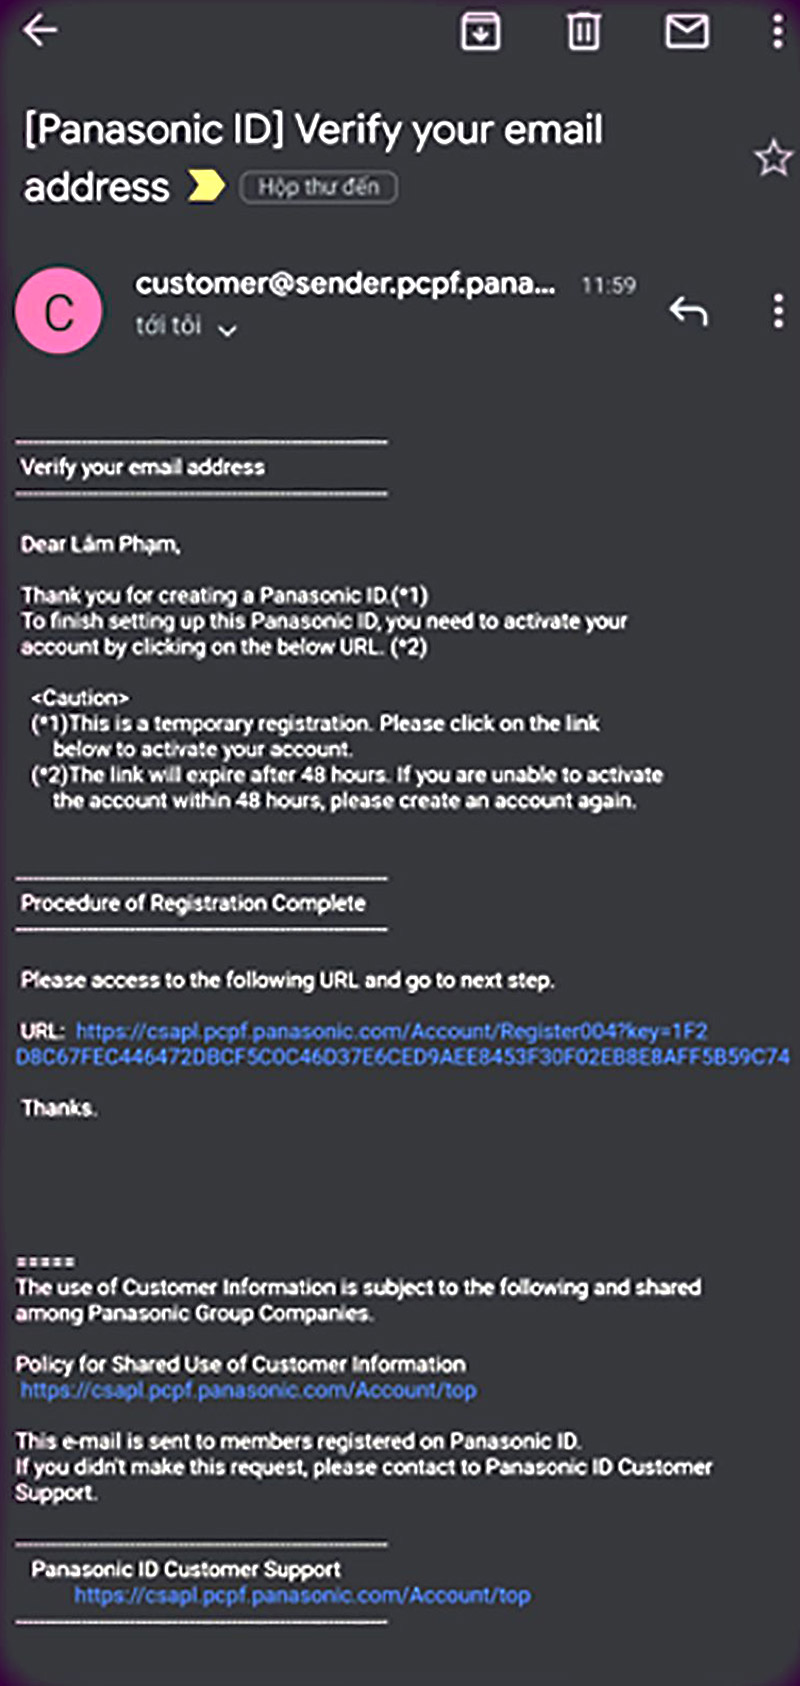
You will receive an email from the company, and please check these links to verify your account (just click on the link to open it)
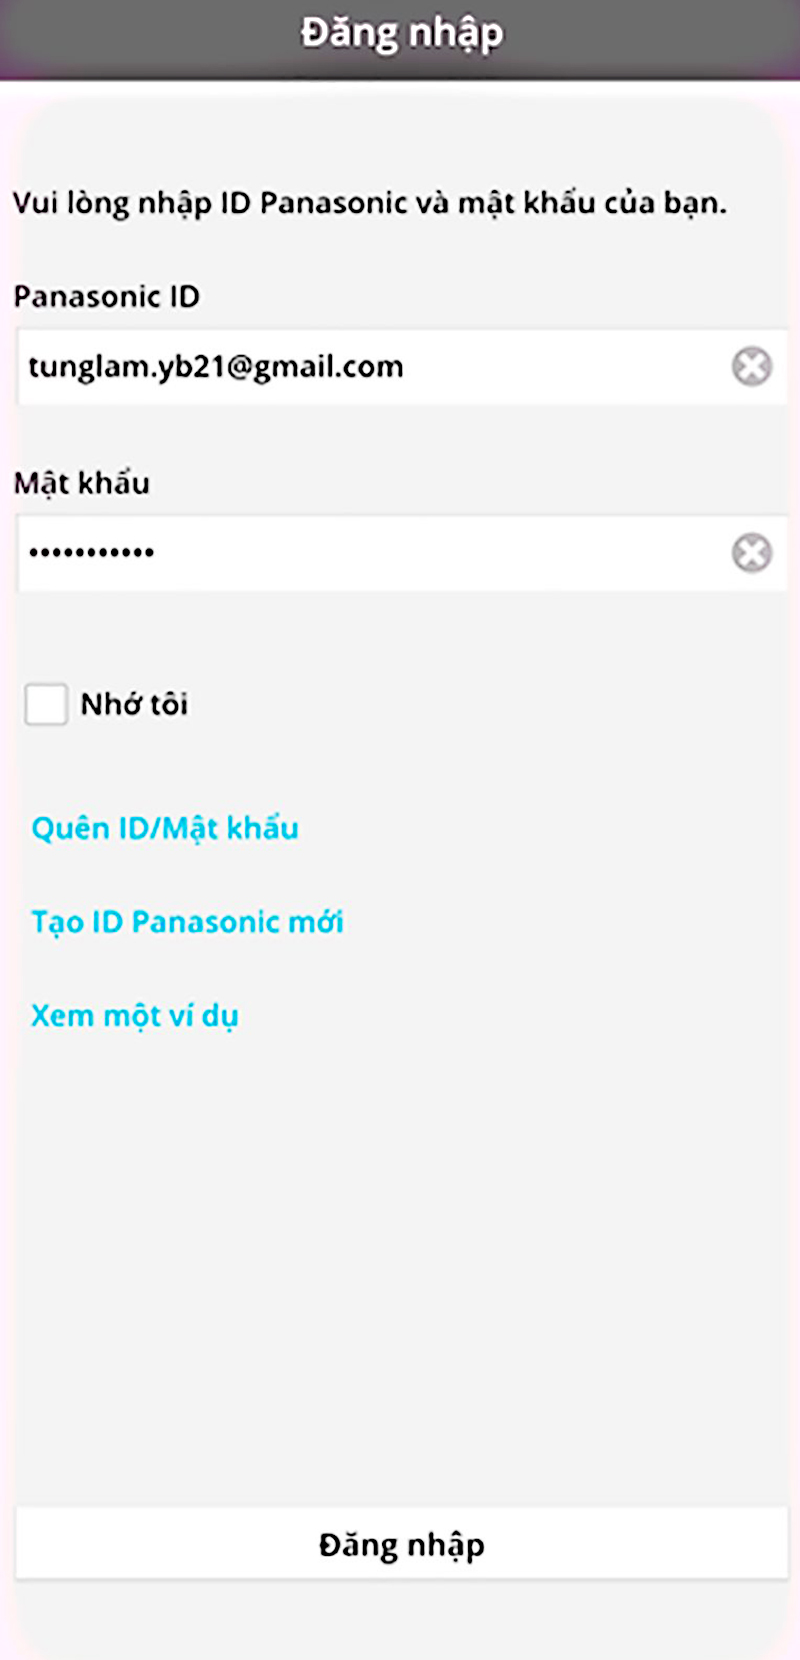
III – Login and Use "Panasonic Comfort Cloud"
- Enter the registered email address successfully.
- Enter the generated password.
- Checkmark: Remember Me
- Select "Login."
To use the control function via Wifi, the emitted wifi network band must be the 2.4Ghz band, which is not supported by the 5Ghz Wifi band.
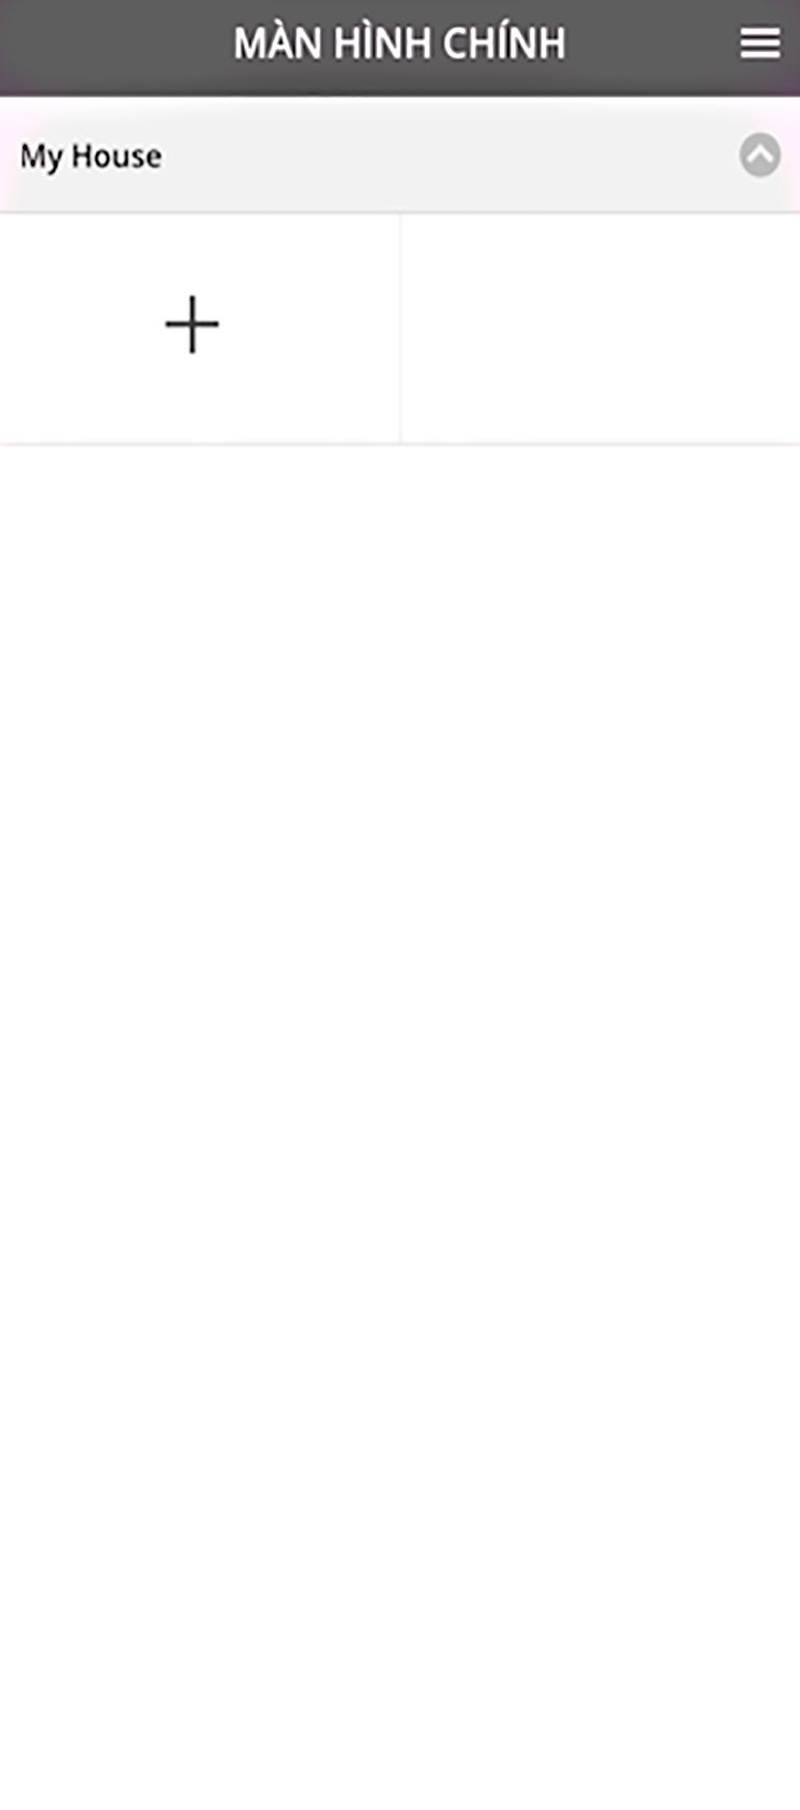
After logging in, you will see the main screen with a "+" sign. Please tick the "+" character to add a device.
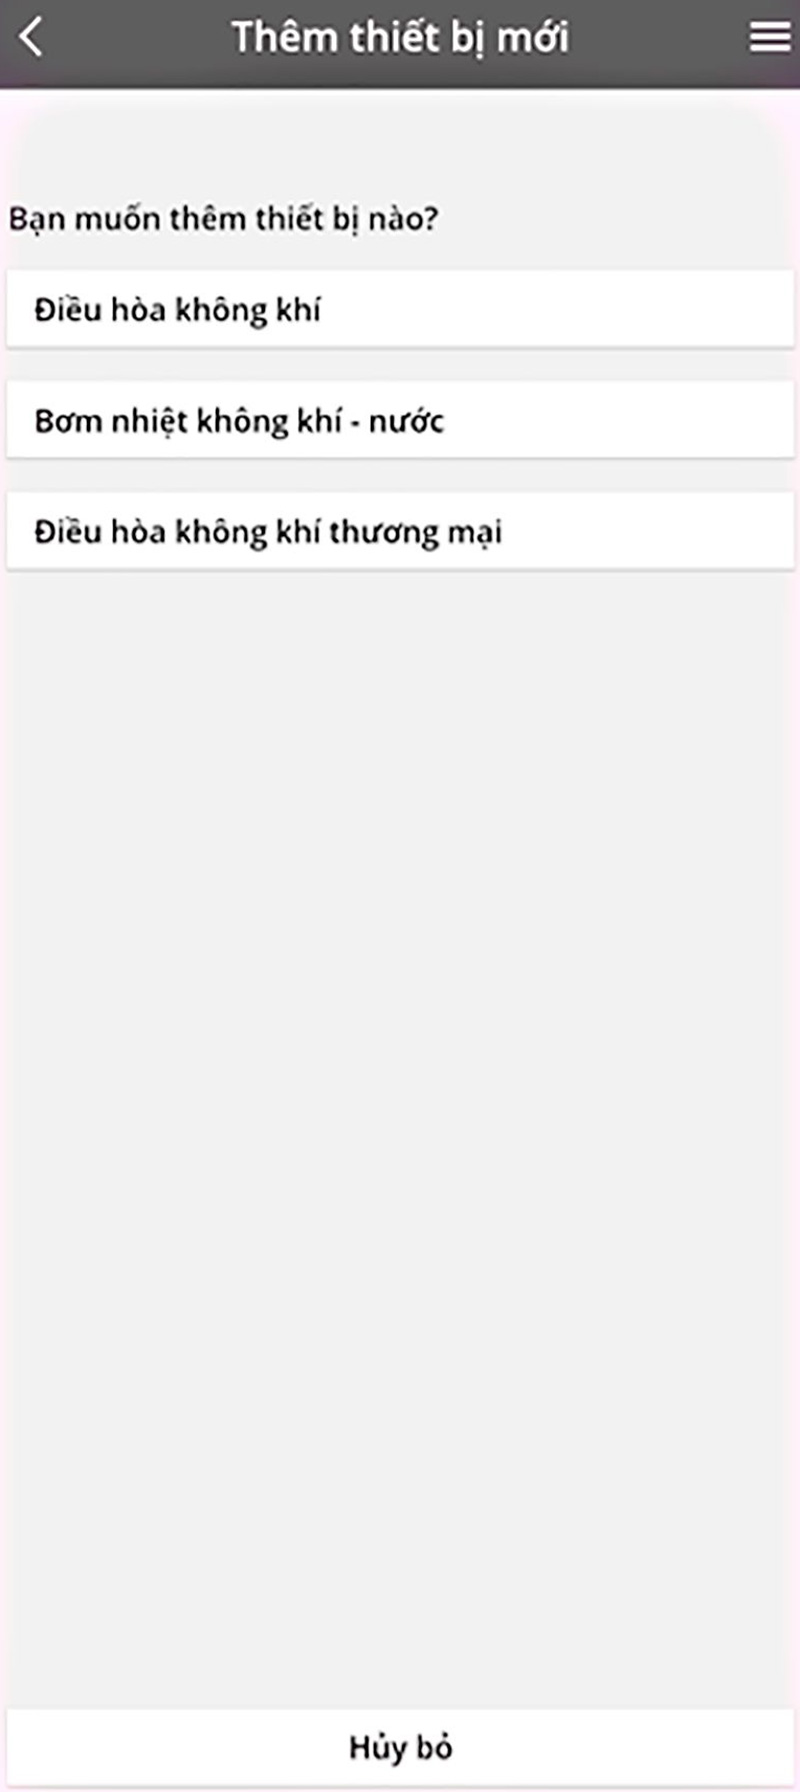
After checking the "+" sign, the screen will switch to the item to add a new device. For example, check to Select the item "Air conditioner."
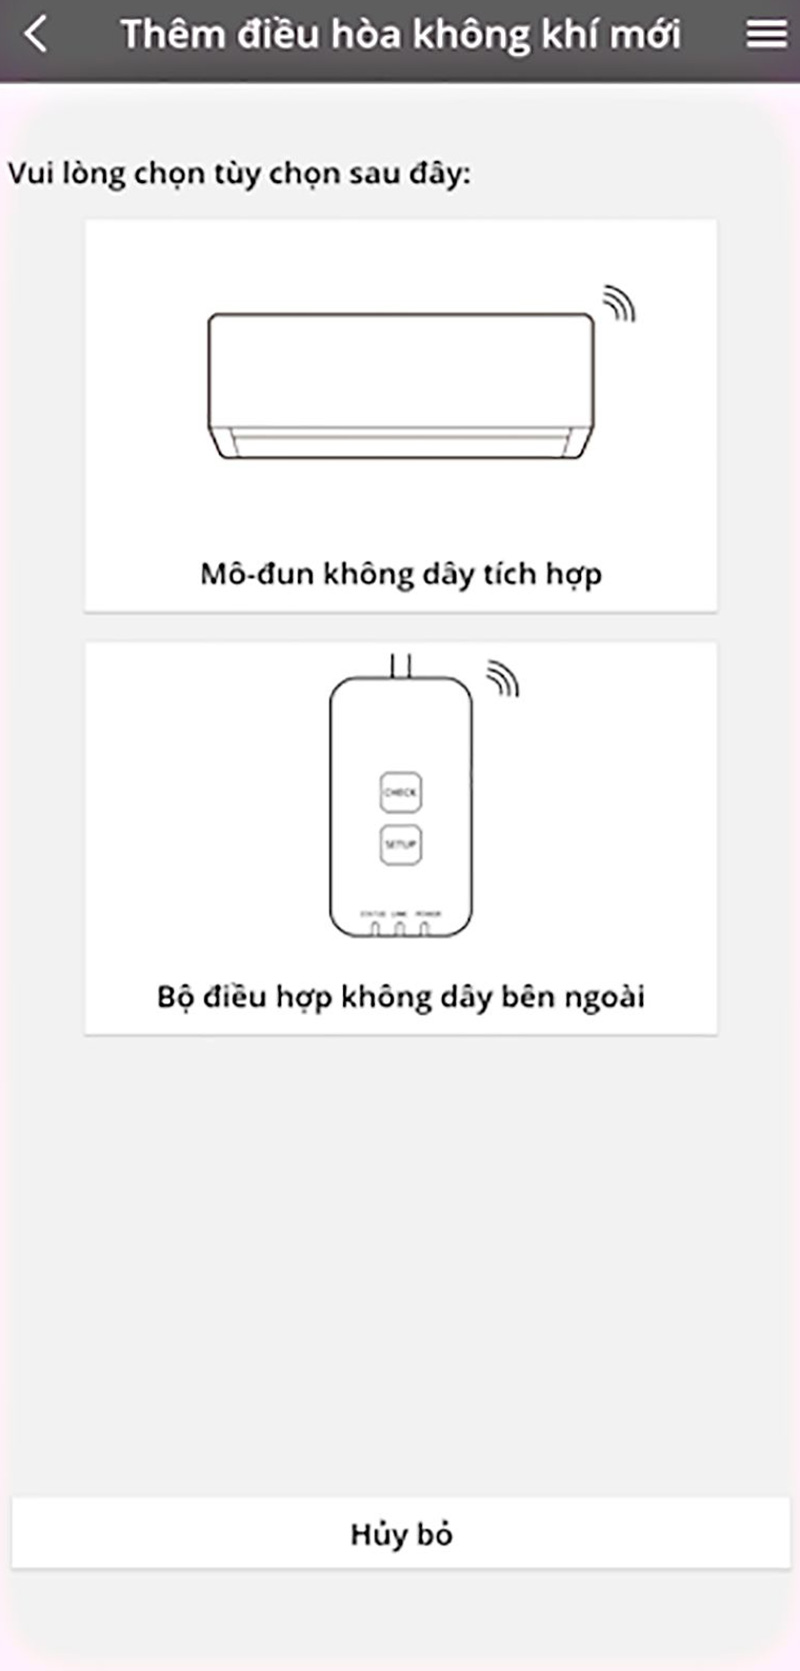
Next, the screen will show two items as follows:
- Select "Built-in Wireless Module" (for built-in models: WPU**WKH-8).
- Select "External wireless adapter" (for models not built-in)
Then check the box "Start."
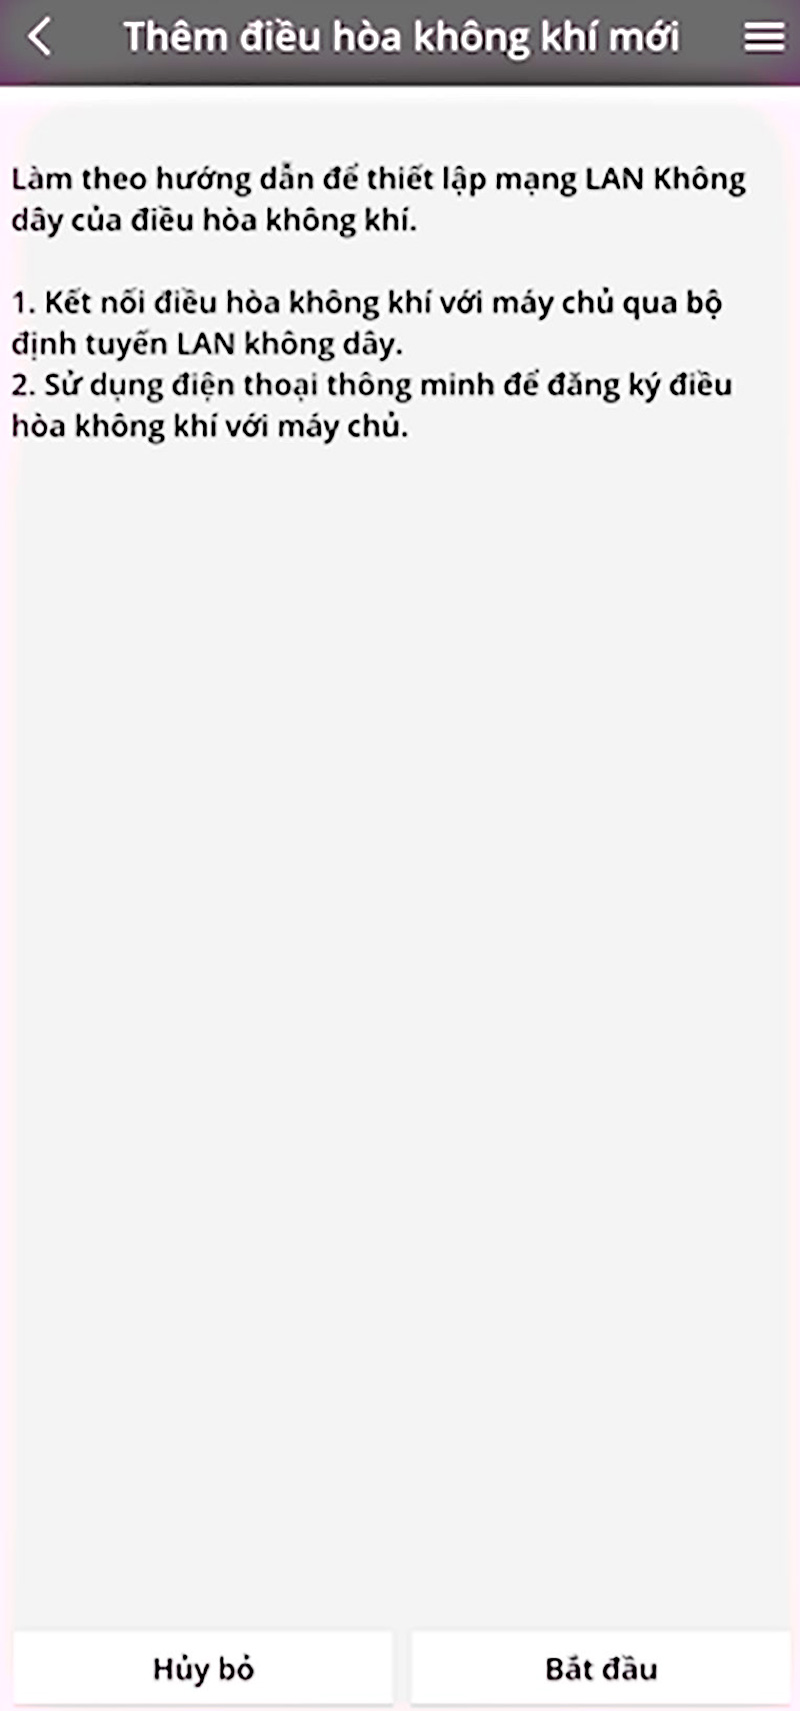
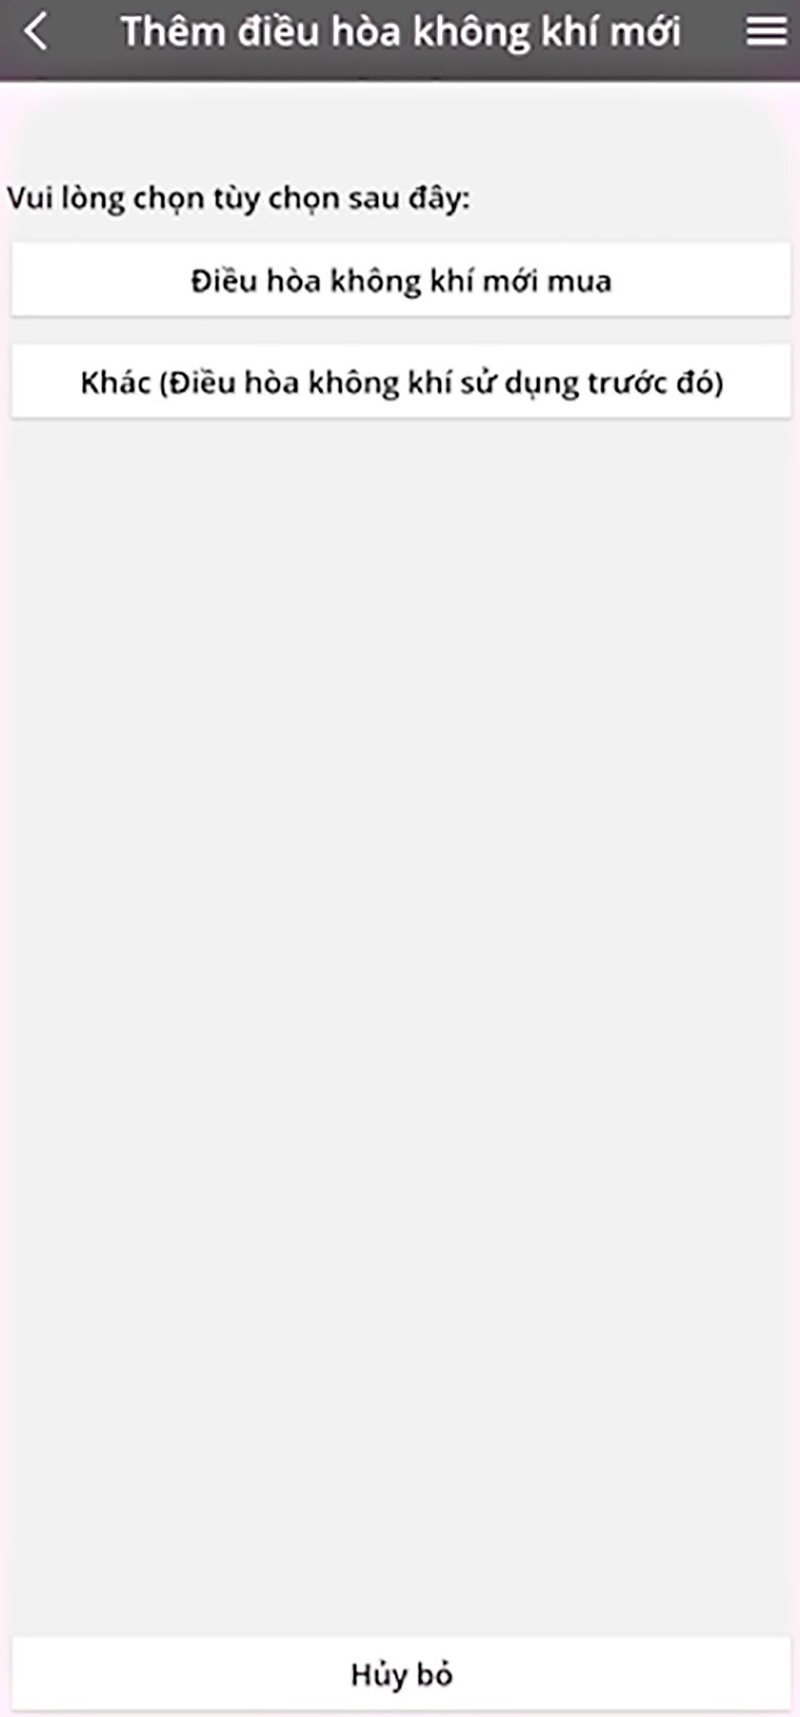
After checking the Start box, the screen will display two items as follows:
- Select "Newly purchased air conditioner" (for a new unit, first connection).
- Select another "Previously used air conditioner" (for a previously connected unit)
After selecting the item, Select "Newly purchased air conditioner" (for a new machine connecting for the first time). The screen will show instructions to communicate in three steps as follows:
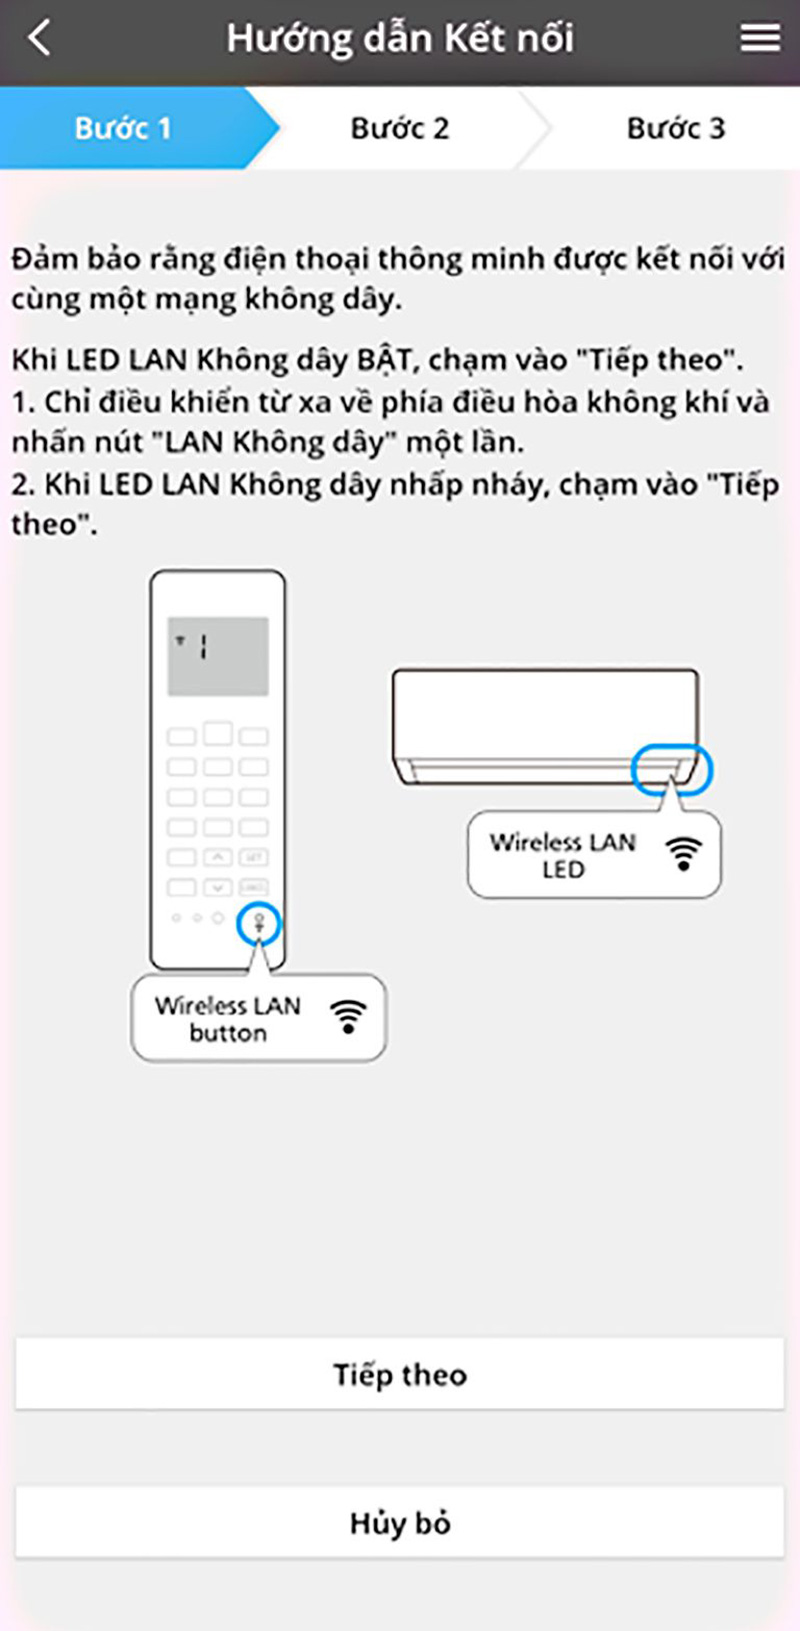
Step 1
1 - Using a small toothpick, point the remote towards the air conditioner. Press the hidden wifi button on the remote (shown below) to activate the built-in wifi module. This time the "Wireless LAN LED" light will flash.
2 – Click "Next."
Next, a screen appears. First, select the button that matches the wireless LED status. Then, select the blinking LED corresponding to the "Wireless LAN LED" light.
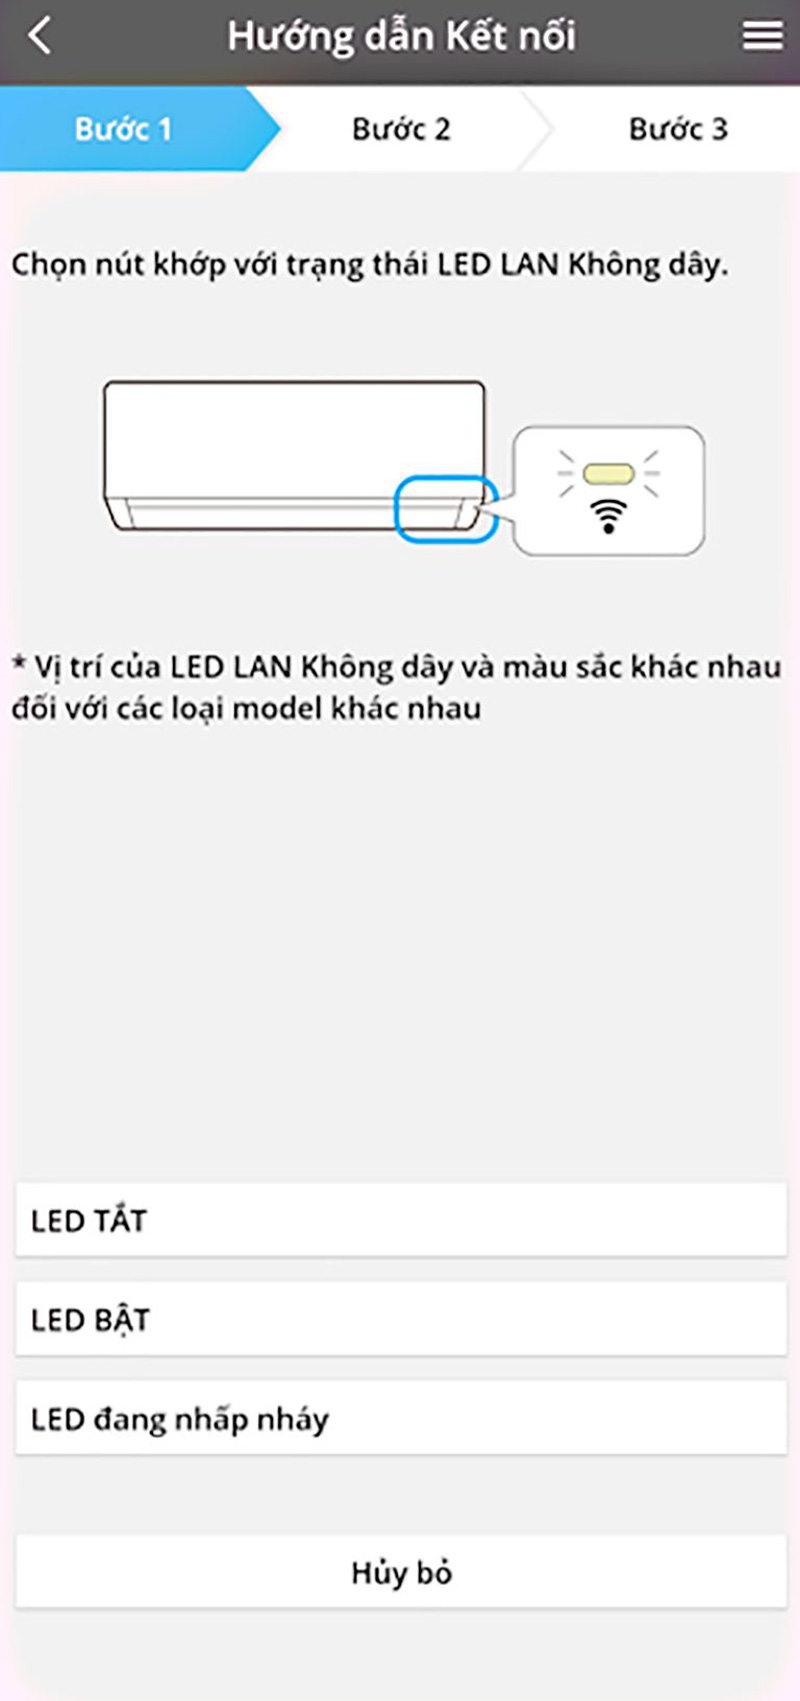
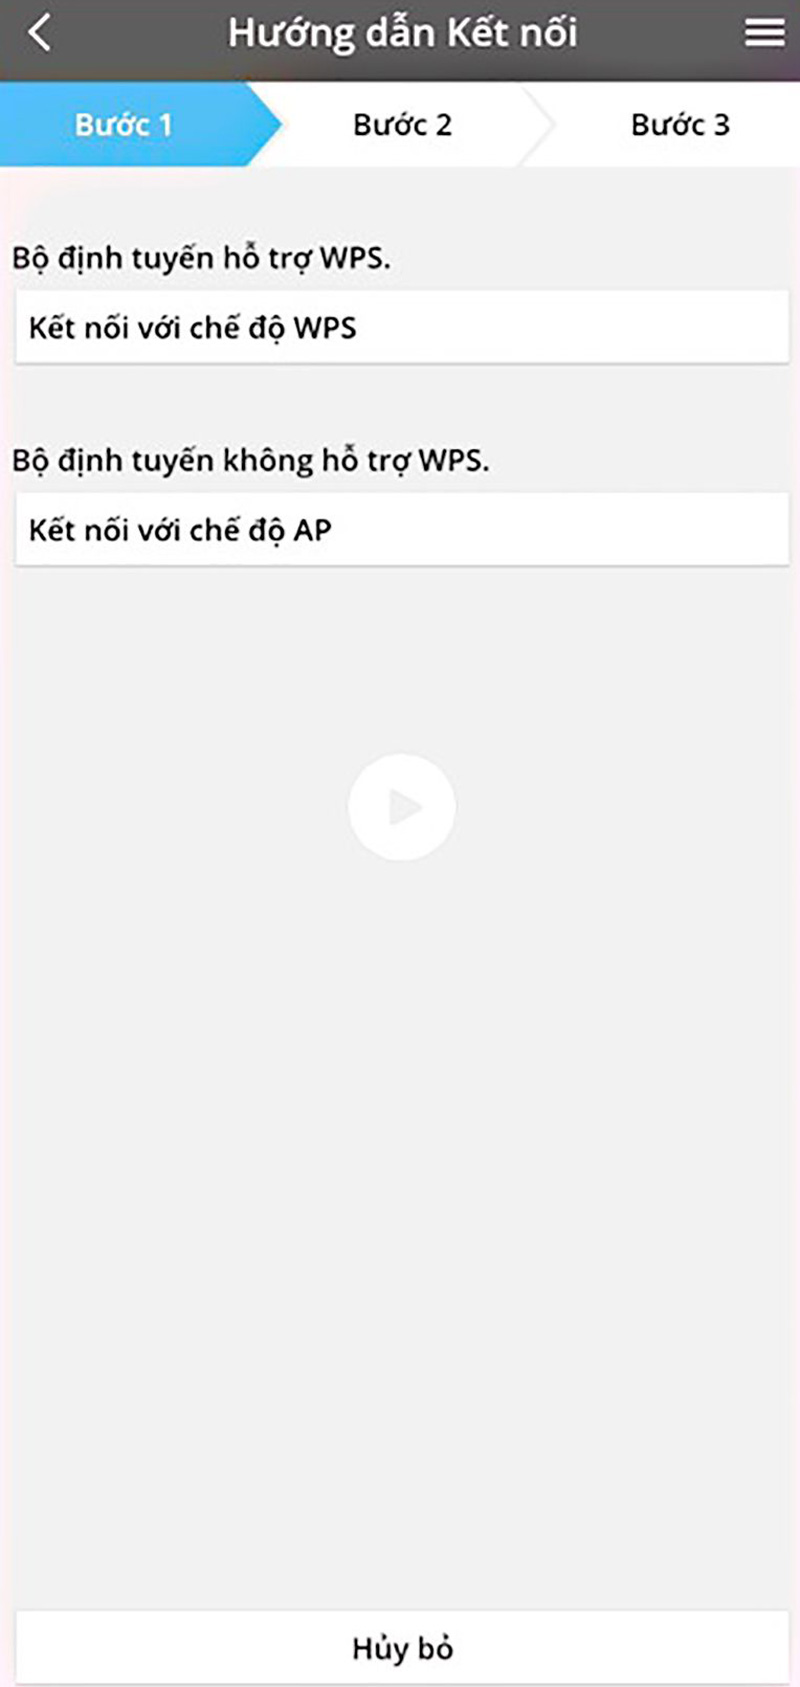
After selecting the flashing LED corresponding to the "Wireless LAN LED" on the Indoor Unit, the display shows two items:
- Connect to WPS mode if your router supports it.
- The router does not support WPS-Connect to AP mode.
Please select "Connect to AP mode."
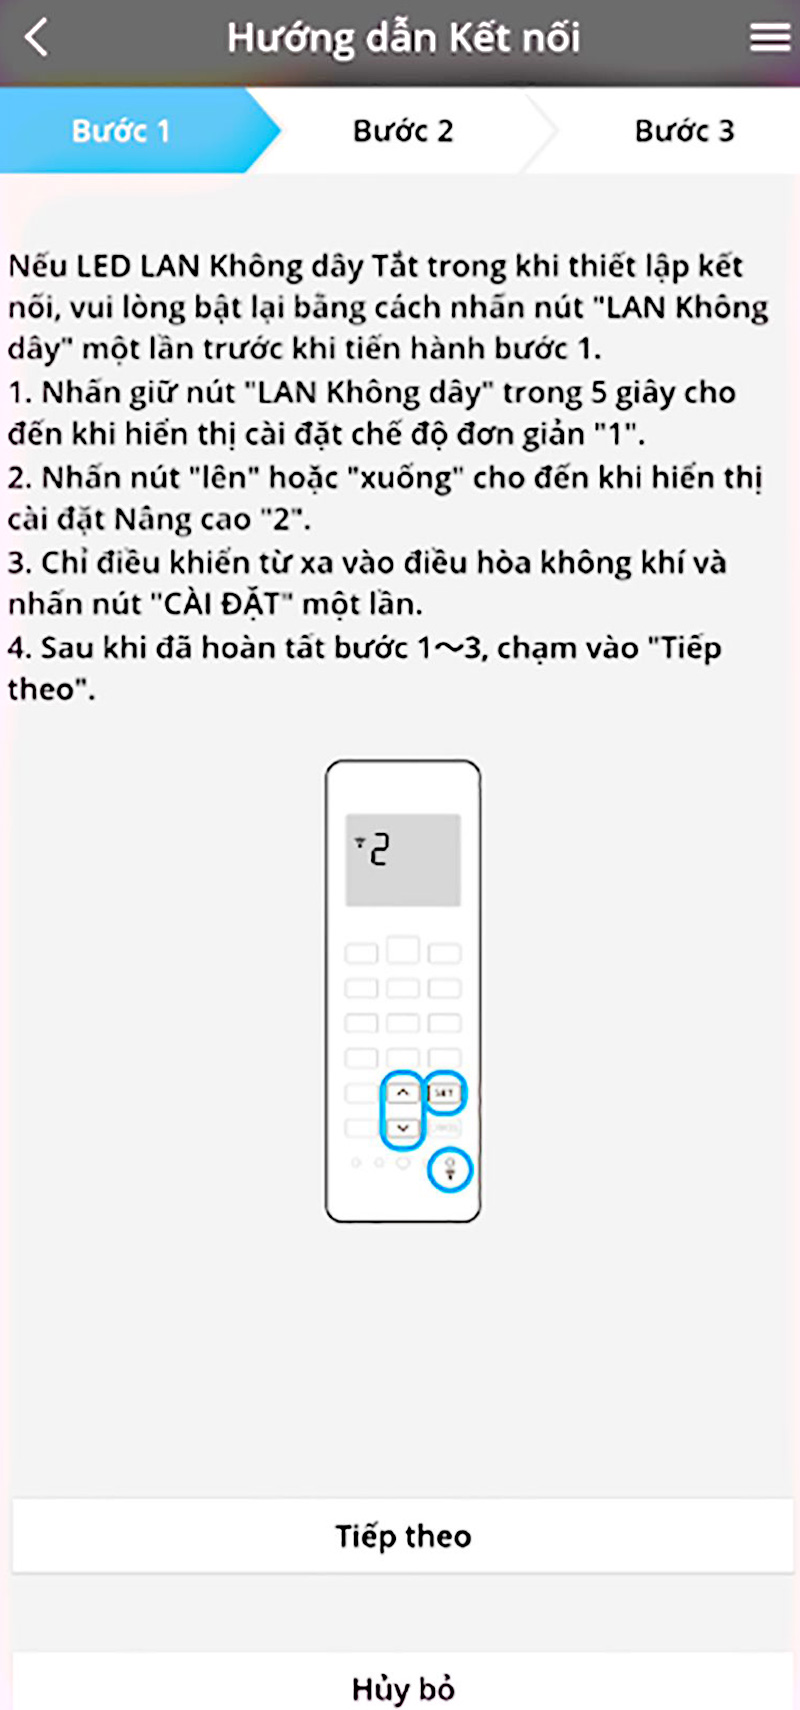
After ticking "Connect to AP mode," The screen will show content if the LED wireless LAN is enabled. Please follow these steps:
1 – Take a toothpick and press and hold the wifi key on the remote (as shown below) for 5 seconds until the control screen shows the number "1".
2 – Press the "Up" or "Down" button in the timer frame on the remote (as shown below) until the remote display shows "2".
3 – Point the control towards the cold side and press the "SET" key.
4 – Tick the item "Next" on the phone screen.
Then wait for the "Panasonic Comfort Cloud" app on your phone to establish a connection to the wifi network.
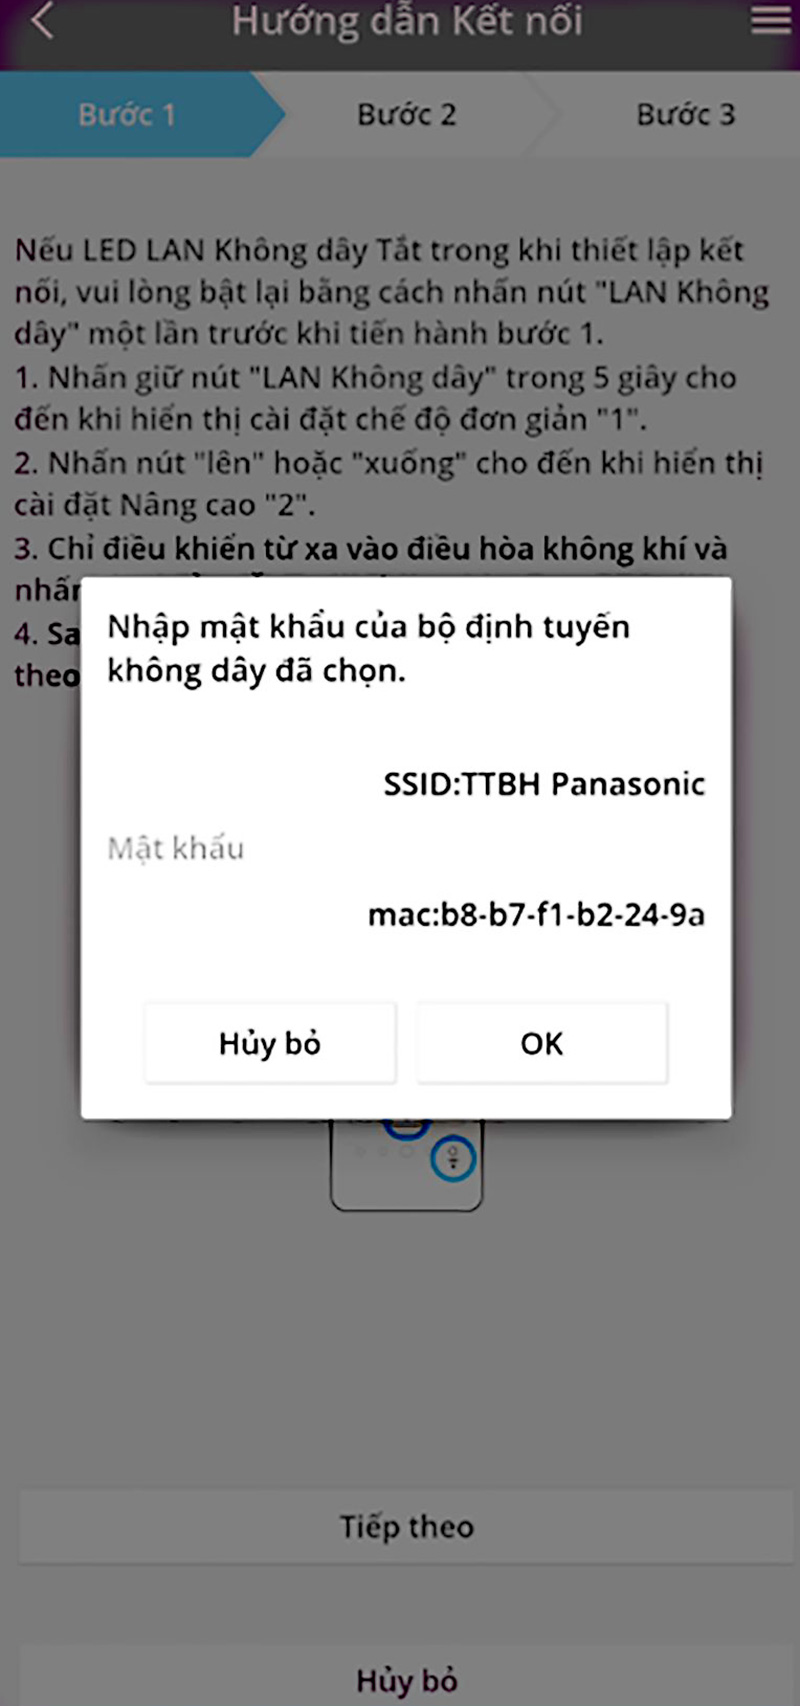
After waiting for a moment, when the application finds the Wifi network's name, check the "Password" section to enter the Wifi password, enter it, and then select OK.
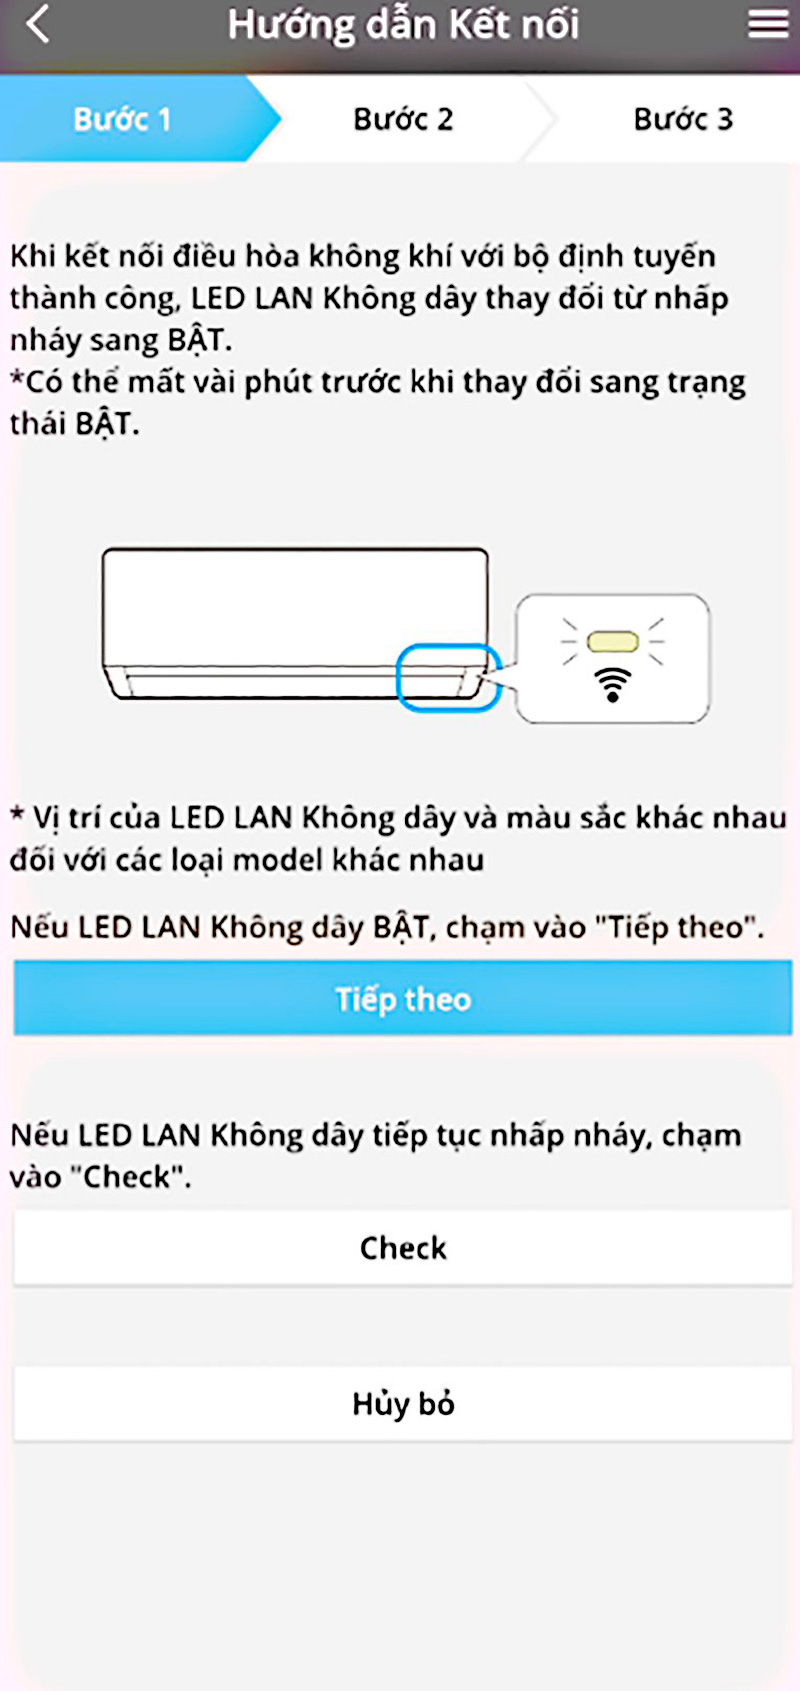
After entering the password and selecting OK, the screen goes to "Waiting for the air conditioner to connect to wifi." When the connection is successful, the "Wireless LAN LED" light on the indoor unit changes from "Flashing" to "On."
After the "Wireless LAN LED" light on the indoor unit changes to "On" => tick "Next."
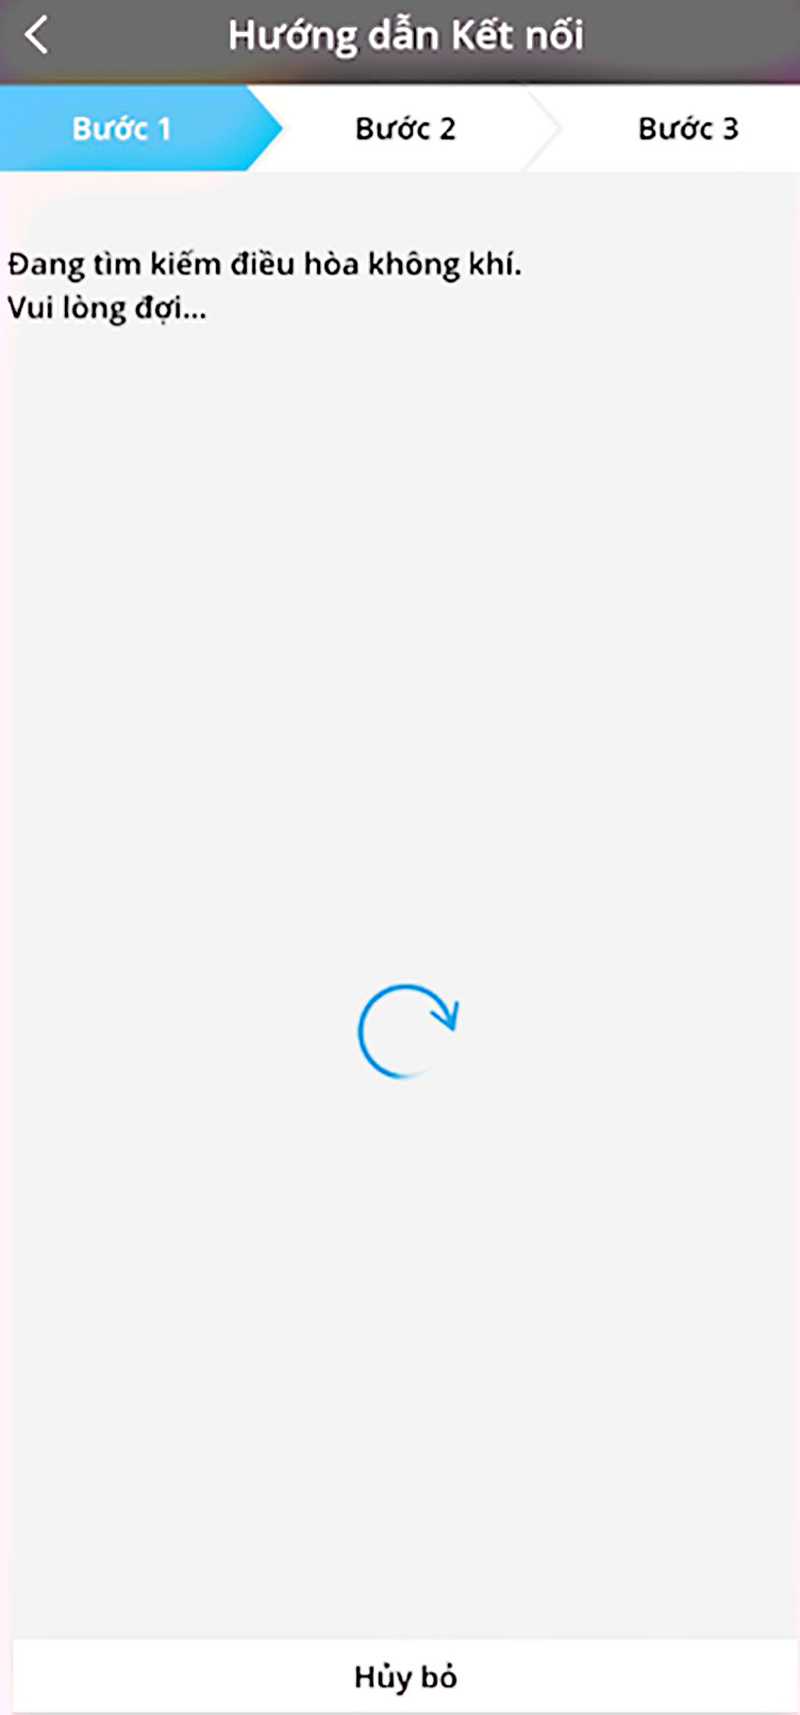
After finishing step 1, the phone screen shows, "Searching for an air conditioner." Please wait...
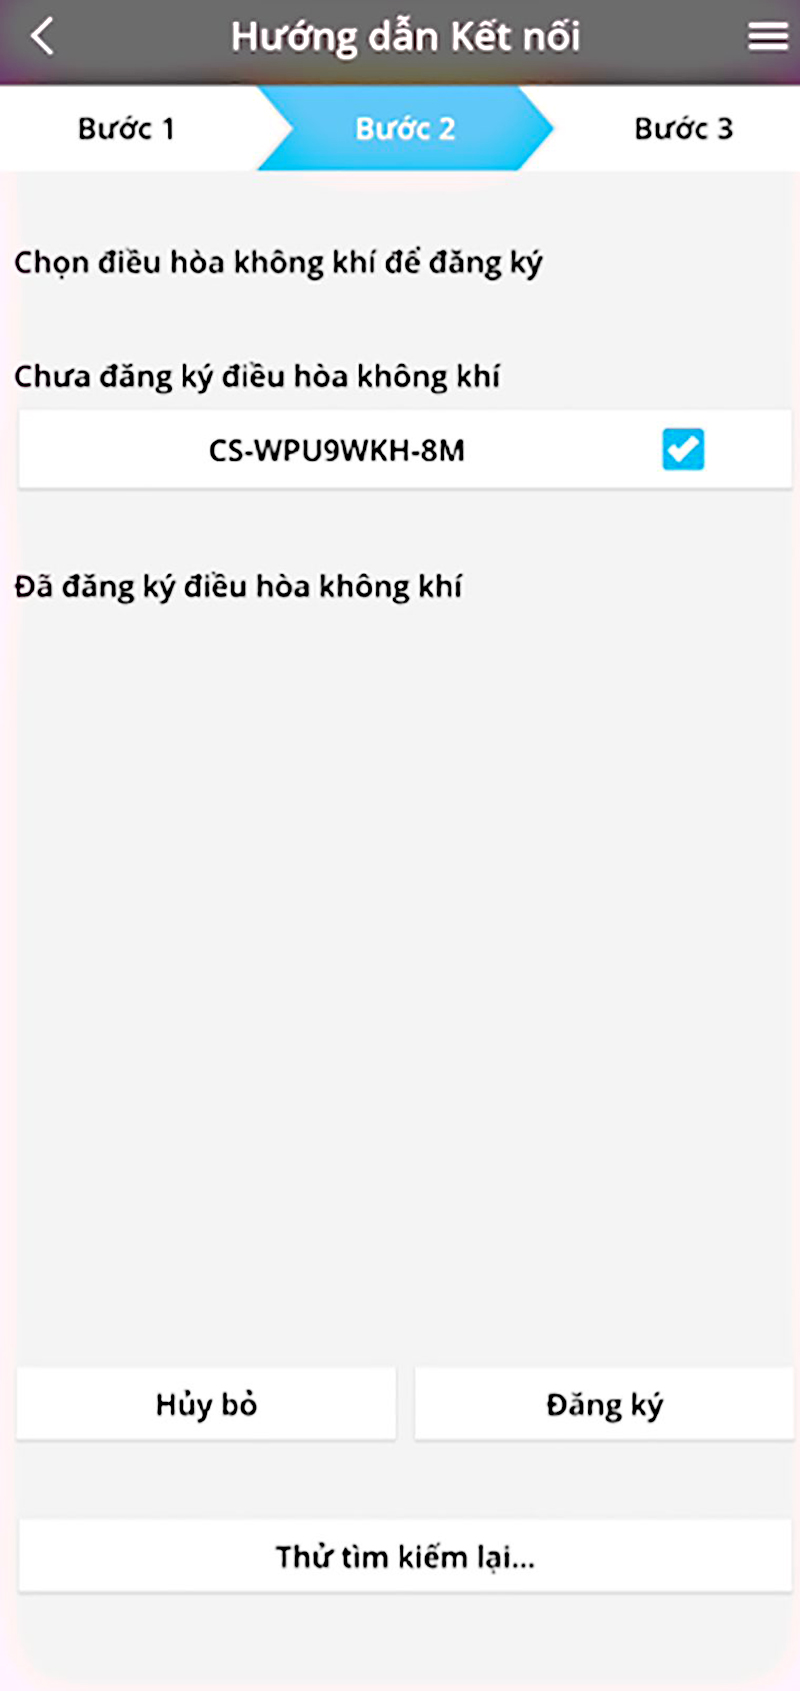
Step 2
After completing step 1, the screen will switch to step 2. After the phone finds the air conditioner model name, tick the name of that air conditioner model. And click the "Sign Up" box.
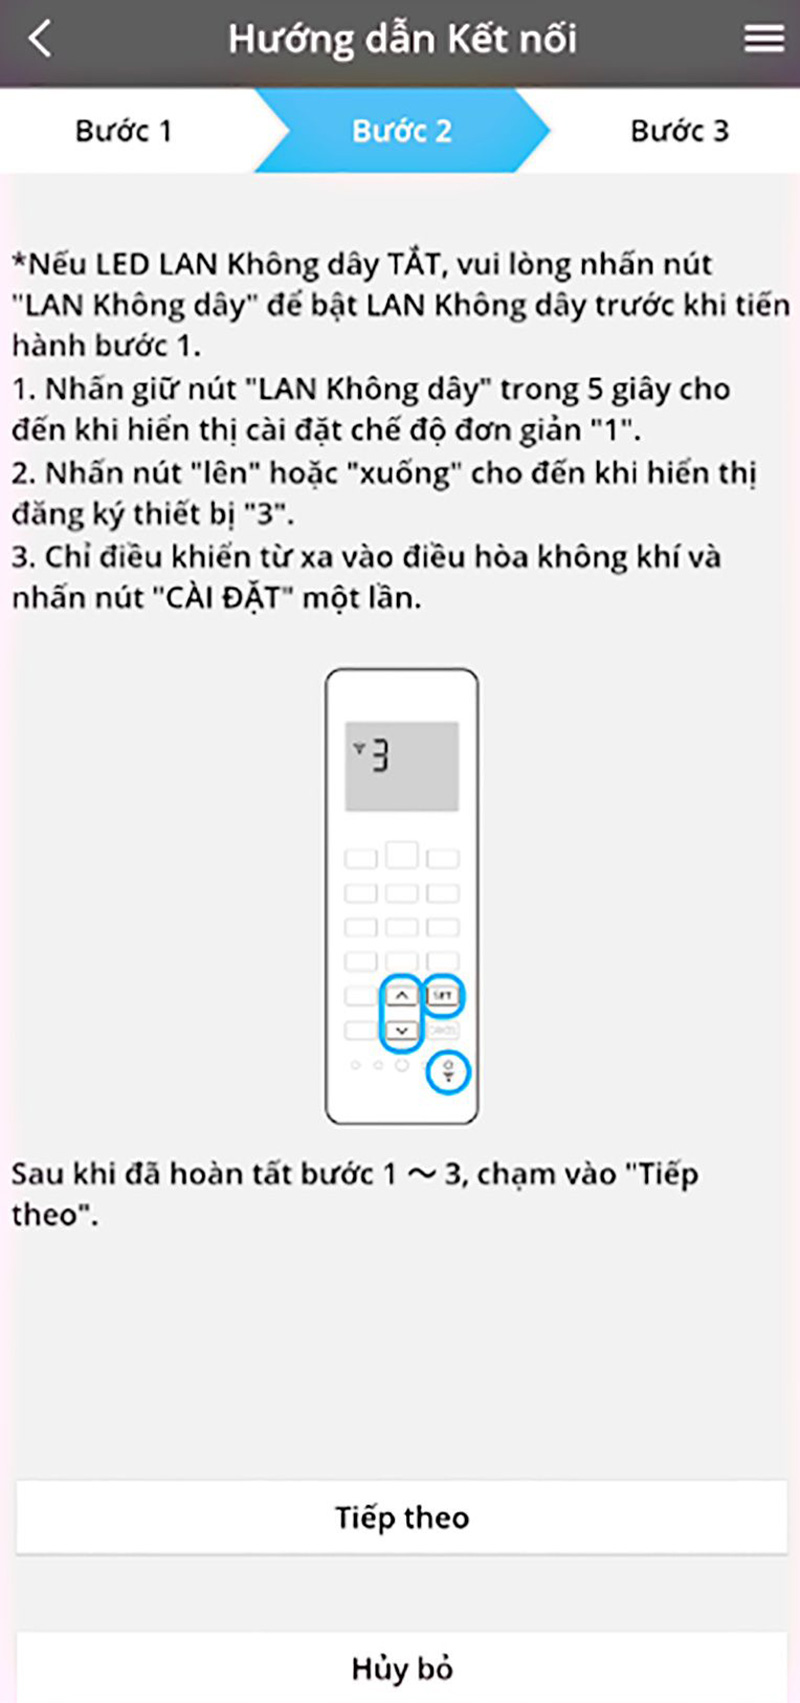
After registering, the screen will show the content if the wireless LAN LED is off... Please proceed as follows:
1 – Take a toothpick, press, and hold the Wifi button on the remote (as shown below) for 5 seconds until the control screen shows the number "1".
2 – Press the "Up" or "Down" key in the timer frame on the remote (as shown below) until the control screen displays the number "3".
3 – Point the control towards the cold side and press the "SET" key.
4 – Tick the item "Next" on the phone screen.
Then the screen will change to "Please wait..." while the "Panasonic Comfort Cloud" application on the phone connects to the air conditioner to set the password for the air conditioner.
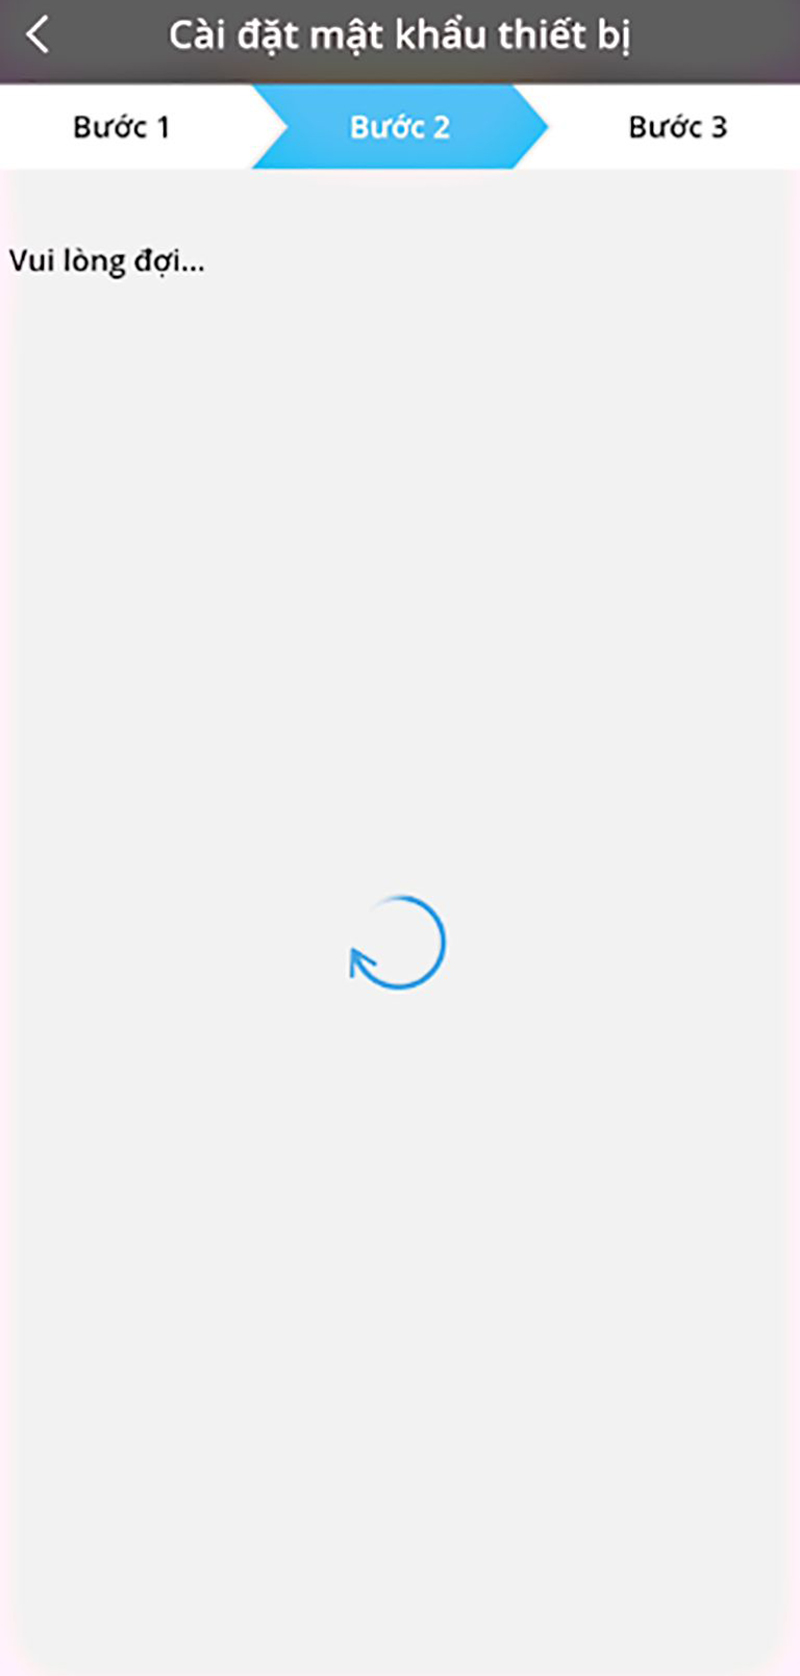
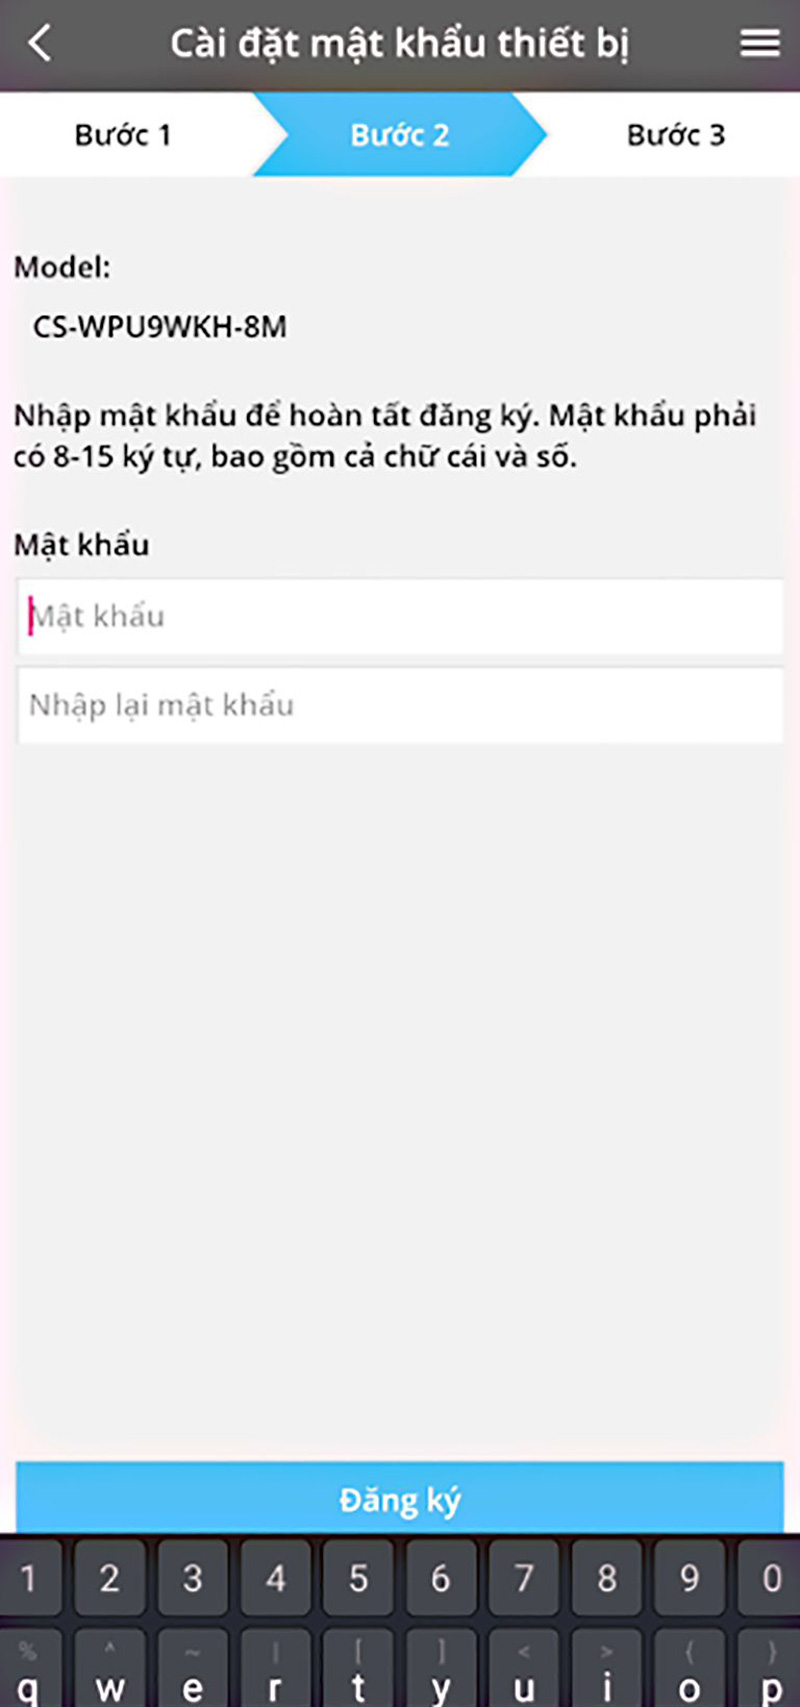
To finish step 2:
1 - When the "Panasonic Comfort Cloud" application on the phone displays the air conditioner model name and password, proceed to set a password for the air conditioner (the password must be between 8 -> 15 characters, including letters and numbers). The user must remember the password for this air conditioner.
2 – After setting the password, => tick "Register."
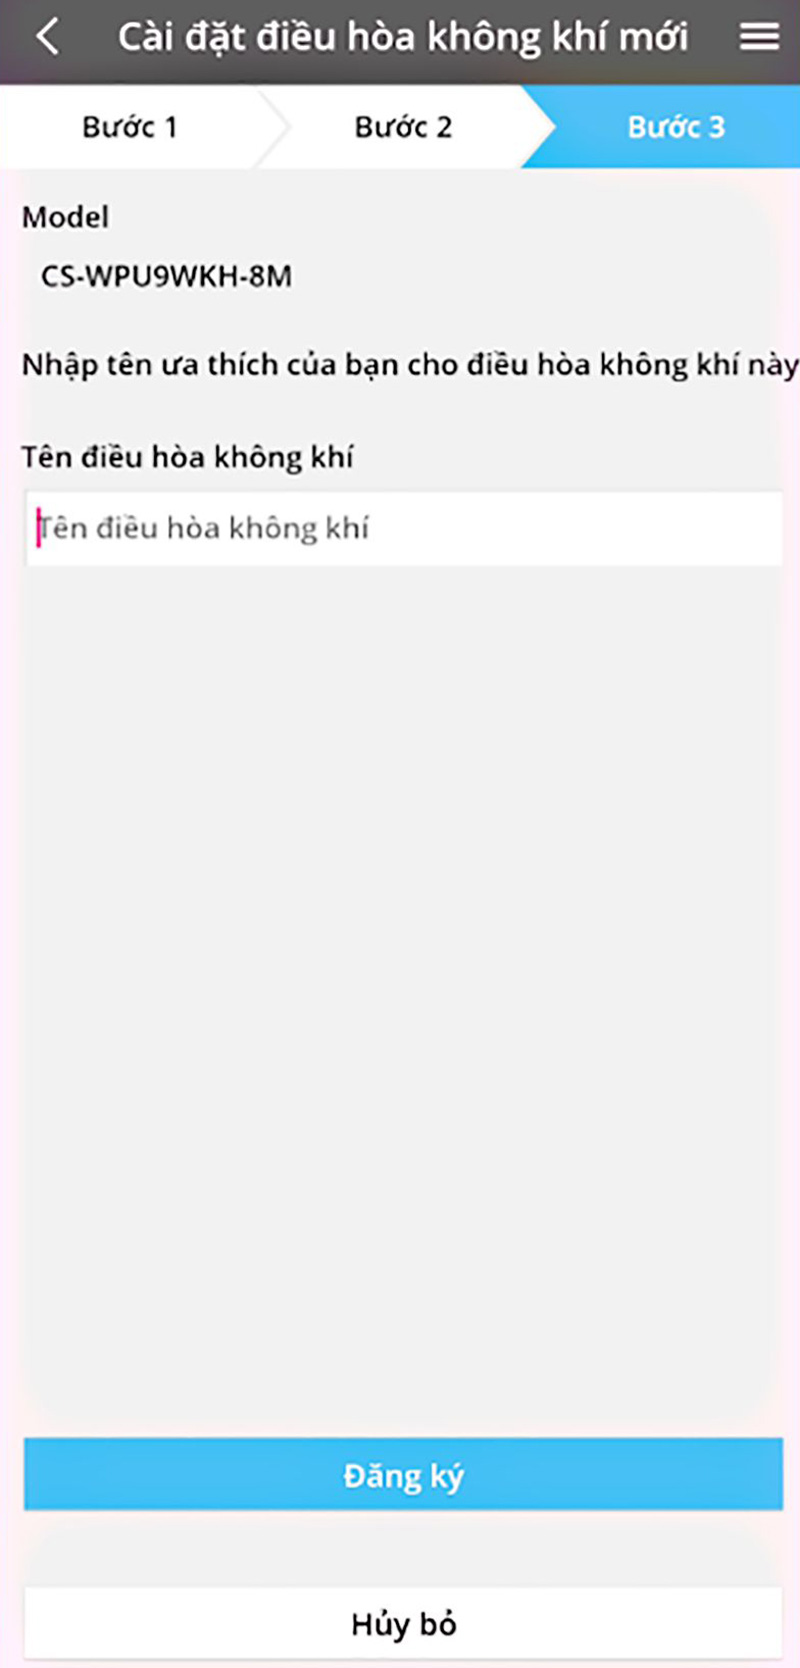
Step 3
After completing step 2, the screen will switch to step 3.
1 - Name your air conditioner: "Ex: Living room air conditioner..."
2 – After the name is complete, => tick "Register".
After registration is complete, the screen will appear with the In-App Control Screen Interface. And at the bottom are the extended function categories you can choose from.
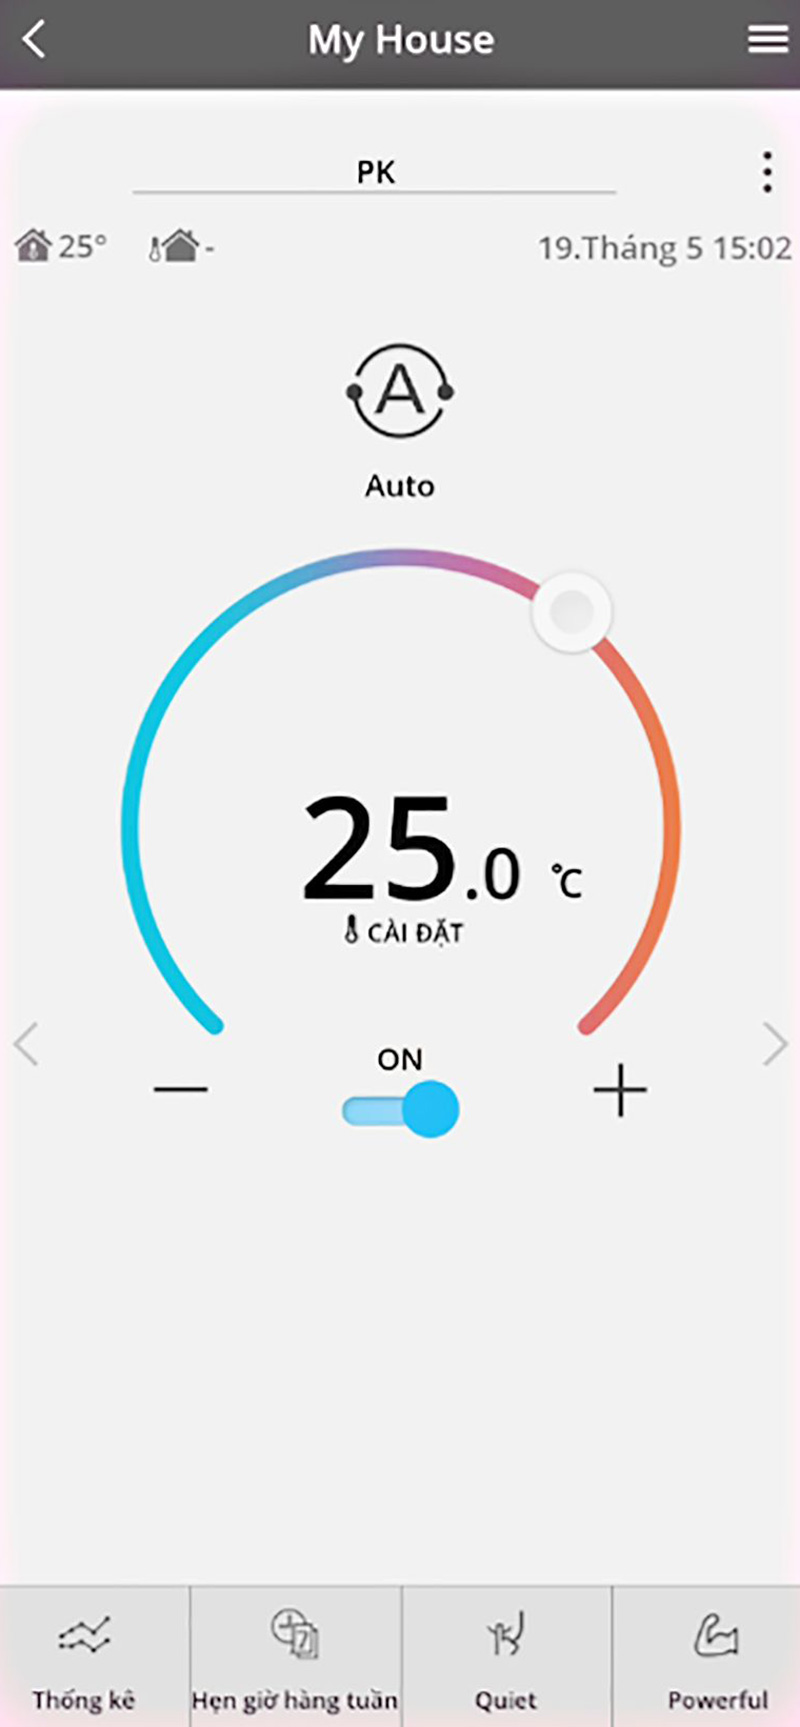
Above is a guide to connecting Panasonic air conditioners with the Panasonic Comfort Cloud application using smartphones. We hope that you will be able to operate more quickly, save time, and be extremely convenient with the above instructions.