Table of contents
Usually, when you hear about the installation of ceiling fans, you will think of professionals. Still, with the product Mitsubishi Electric Ceiling Fan-RW5, you can also install them by hand to ensure the right way and ensure safety. It's all just a few steps away. The following article, Original Price Electronics, will provide you with the necessary information to install C56–RW5 easily and decorate the fan for the living room by yourself.
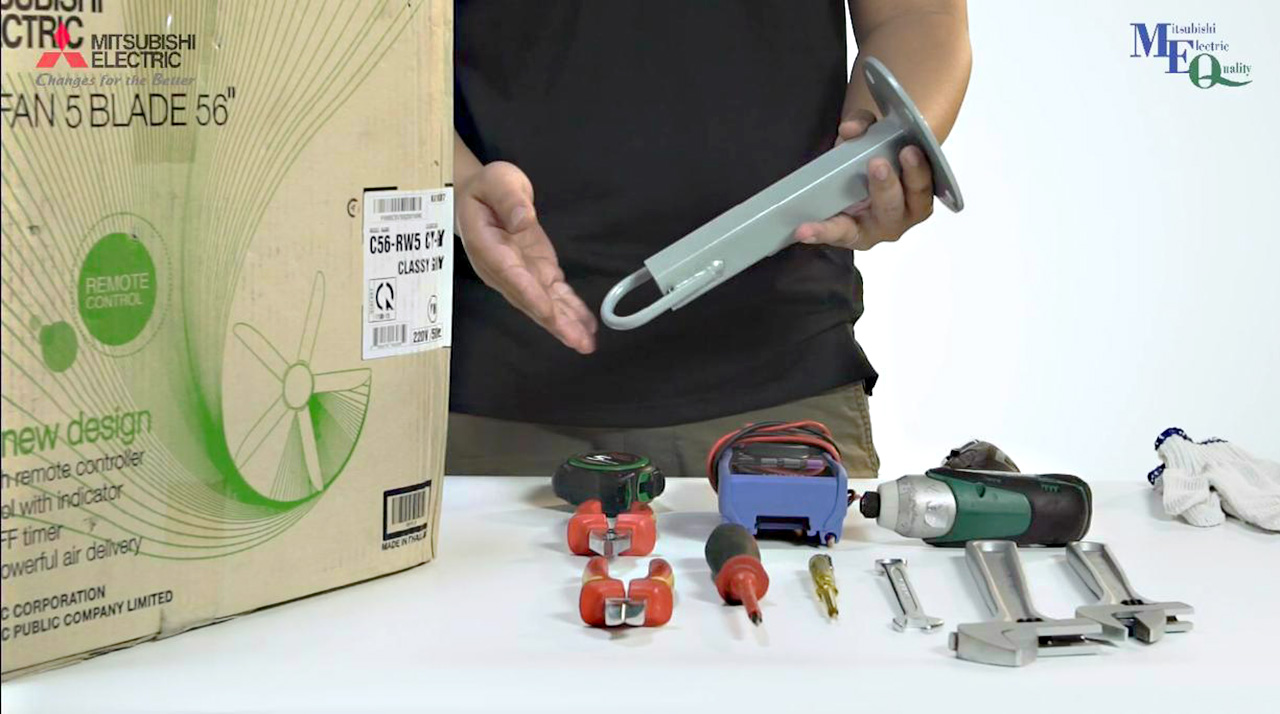
The following is a detailed introduction to the C56–RW5 ceiling fan and the necessary tools:
Tools required for installation
- A screwdriver, a wrench, pliers, a tape measurer...
- Industrial gloves protect hands and prevent sweat from getting on the details.
- Stand with a hook design to hang the fan from the ceiling (some residential structures will be available-need to consider this connection with the design contractor to prepare in advance).
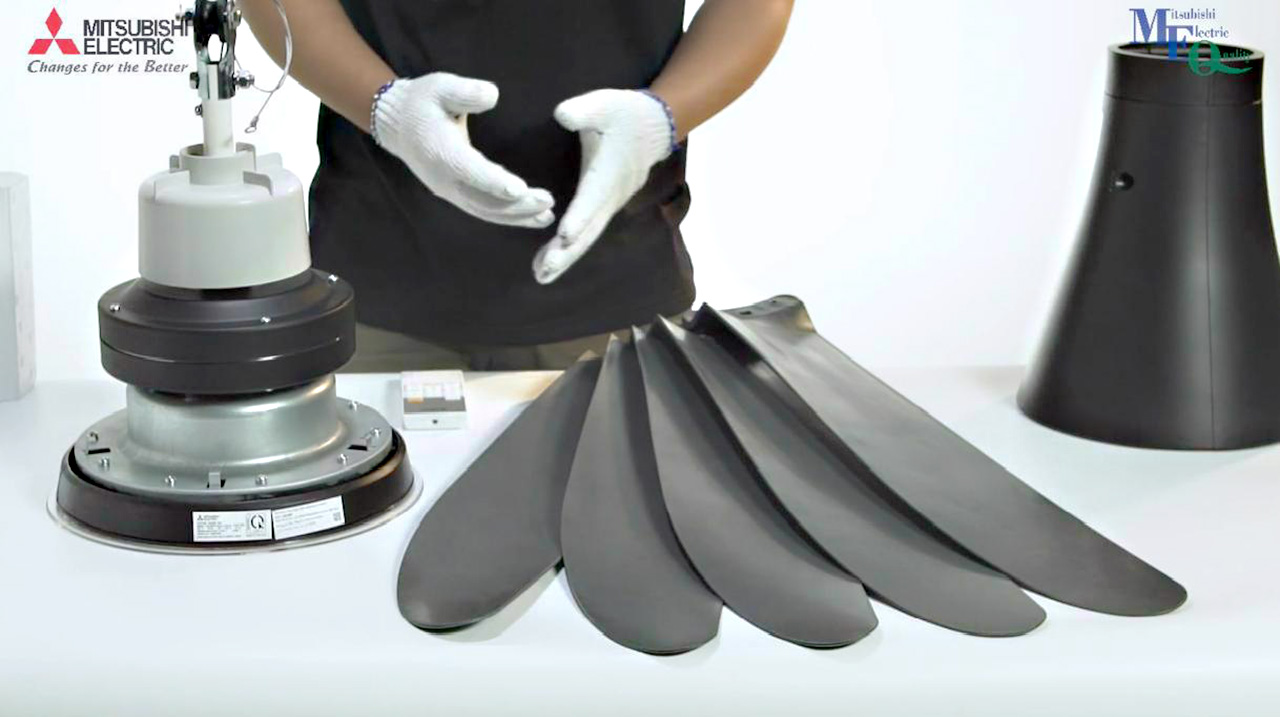
External Details of the Fan
- ABS plastic 3D propeller with five blades that is highly durable.
- Motor set with four high-quality safety protection features.
- Remote control set.
Note:
- While placing the motor unit down on a flat surface, a cloth or foam pad must use underneath to avoid scratching the fan surface.
- Do not place it horizontally to avoid causing the motor to be misaligned, thereby affecting the operation of the fan.
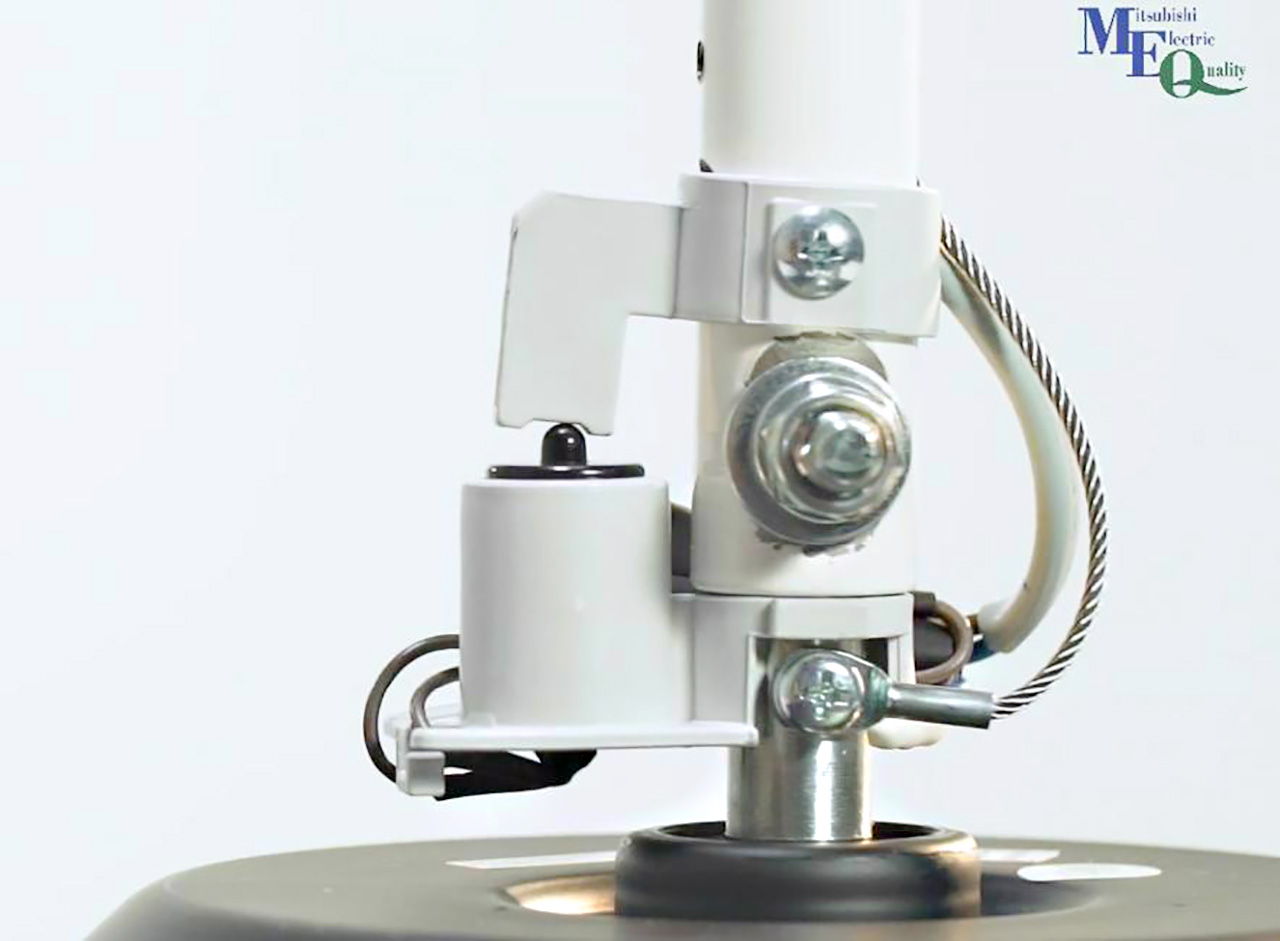
The inside details of the fan
- The fan tip is about 32 cm long.
- The safety switch helps the fan in case of earthquakes or improper installation. If the fan shaft is deflected, causing the fan to shake, the switch part will deviate from the pole. At this time, the power supply will automatically cut off.
- A thermal fuse avoids fire and explosions when overloaded.
How to install the Mitsubishi Electric Ceiling Fan motor C56-RW5
Step 1: Install the propeller into the engine
- You take the propellers and install them according to the word upper size on the face of the safety pin.
- When inserting the propeller and bolting the propeller to the motor part, the safety pin will prevent the propeller from falling off in the event the screw is flushed.
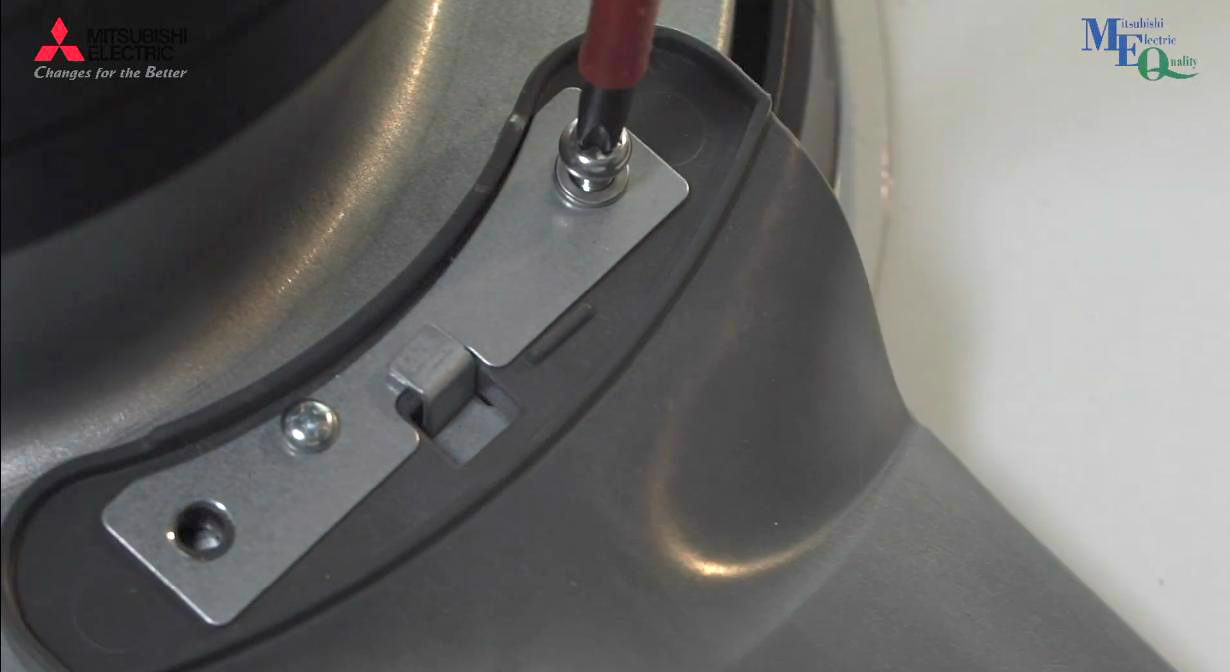
Note: You should tighten the screw with just enough force, not too tight or too light. It will cause the propeller to shake.
Step 2: Hang and secure the fan to the ceiling
- After installing the propeller on the engine, you remove the screw in the fan tip.
- Next is to thread the shock absorber rubber in the middle of the fan hook connected to the ceiling and fix the fan tip to the theme with screws.
- Then, you thread the cable 2-3 turns to increase safety and fix the cable to the fan with screws.

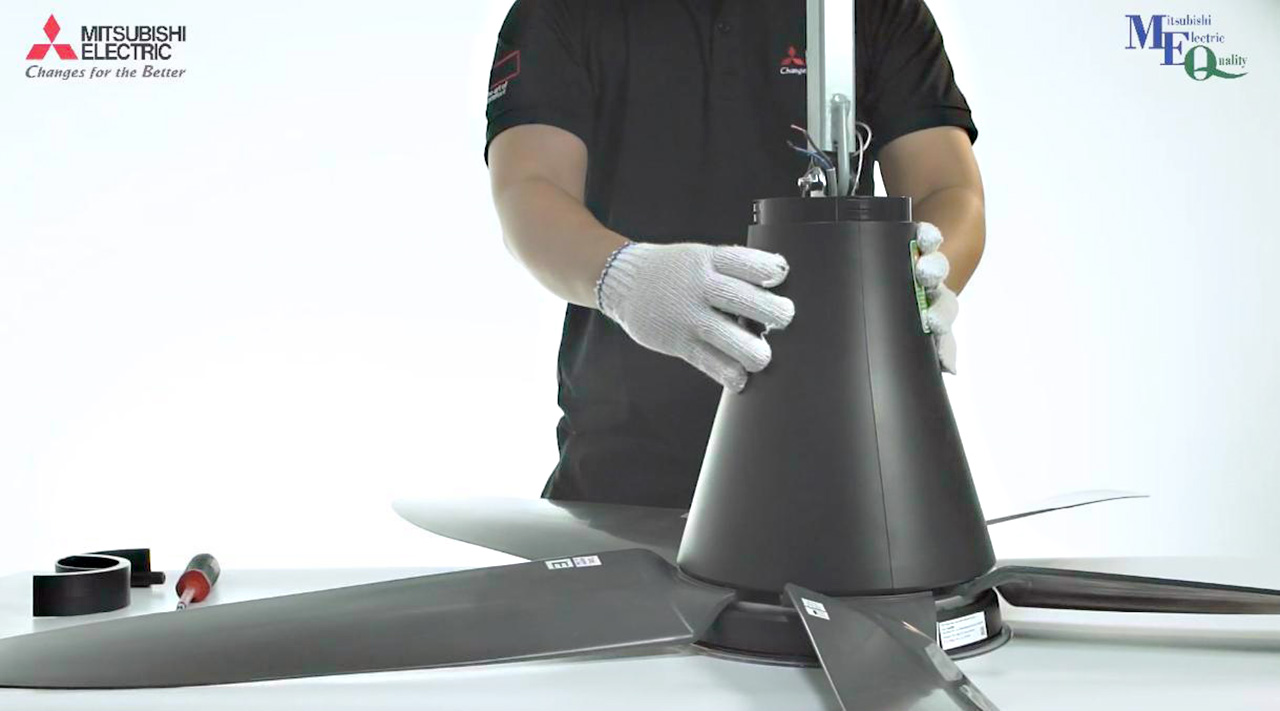
Step 3: Install the body cover and connect the power
- After hanging the fan and fixing the body, you switch to the two electrical connections available on the fan to connect to the home power source. Next, install the cover to hug the fan, fix it, and use a screwdriver to install the screws.
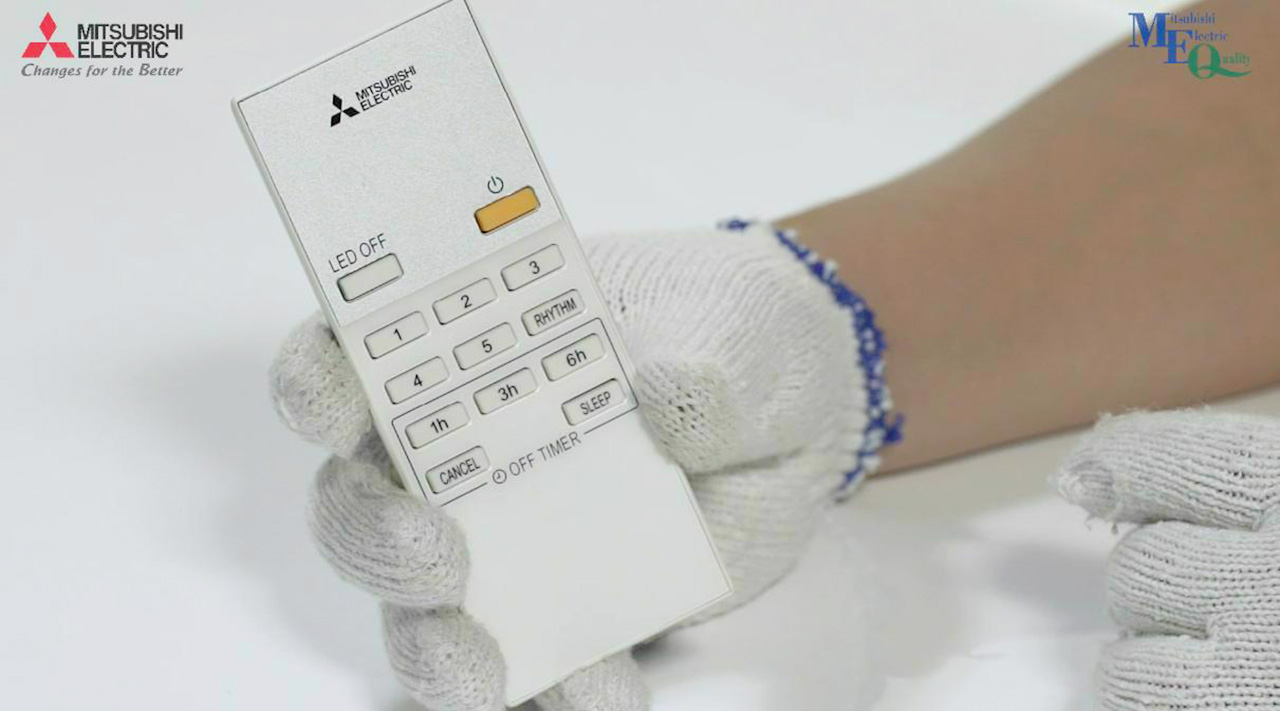
Instructions for using the features on the remote control of C56-RW5
- LED OFF button: Turn on/Turn off the feature LED on the control panel.
- Number button from 1 to 5: Five operating levels of the ceiling fan, providing gentle natural wind to solid airflow.
- RHYTHM button: The natural wind mode automatically adjusts the airflow from strong to light to simulate a natural breeze, matching the human body's circadian rhythm.
- Timer button to turn off 1–3–6: Mitsubishi Electric provides three convenient timer frames for users.
- CANCEL button: Exits the off-timer function.
- SLEEP button: Combined with the timer mode, it will automatically adjust the operating level to decrease over time, helping users have a good night's sleep and save energy.
The above instructions make it simple to install the Mitsubishi Electric Ceiling Fan C56-RW5 in the living room, providing modern comfort, maximum safety, and calm space and is a necessary product for every home. Vietnamese, I hope to help people have more helpful information on the correct installation technique.